Christmas is a great time to spend time with family, gifts, and home decor. So mixing all three into a fun and entertaining craft is the best way to spend winter afternoons.
In this article we present the materials and the steps you need to follow in order to make beautiful figures with the art of strings. The initial preparation must be done by an adult or with a child supervised by an adult, but then it is a very, very simple 3 step craft perfect to do with the whole family.
Materials needed:
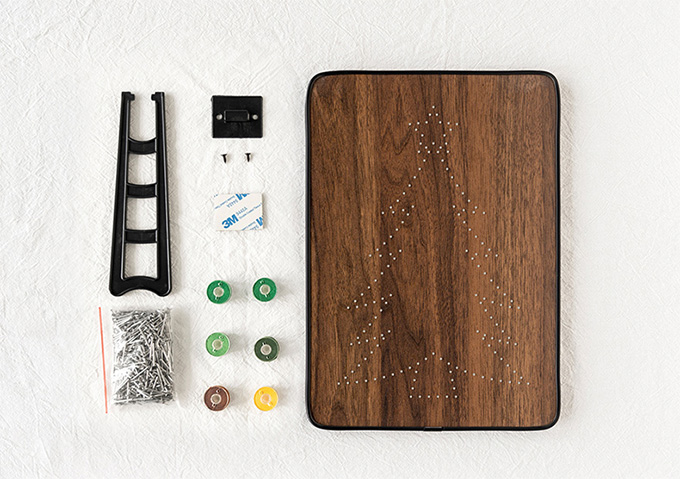
1. At least one piece of wood, maybe various.
The size, shape and style may vary depending on the use that you want to give it: you can use small, light wooden circles, which will be used as decoration to hang on the tree; or you can also use large wooden boards of DIN A4 size, to hang on the wall as a picture. Choose it according to the purpose for what you are going to give.
2. Small nails.
3. Hammer.
4. Strings, wool or embroidery thread (you can use whatever you have in your house).


Instructions
In the section of the materials that are needed we have written the four essentials to make these crafts. But throughout the instructions we will add materials that we recommend to facilitate the work or to decorate and personalize the results.
Step 1. Pound some nails
The first step will be to prepare the wood to start decorating it. There are people who like to paint it before starting work: you can paint the wood the color you want, add glitter or just lightly mark the outline of the figure you want to make with a pencil.
Next, pound the nails around the silhouette you want to make with the hammer. To make a Christmas tree, for example, you can easily make it in the shape of a triangle and optionally you can add a rectangle as a trunk and a star at the top point.

Step 2. Start working with the string
Make a knot at the end of the thread and tie it around one of the nails. From there you can start drawing with the thread. If you make large figures, we recommend that you go over the outer silhouette first and then start painting inside, passing the thread across the entire inner area.
If the figure you want to paint is very small, you can start directly in no particular order. If it’s a small silhouette, the order in which you tie the nails will determine the final shape. So each member of the family can have unique results depending on how they prefer to do it!
Once the thread runs out, you can tie another knot as at the beginning. To tighten the knot so that the figure does not unravel, you can tighten the knot well with needle nose pliers.

Step 3. Decorate your figure!
There are people who use thread of different colors to give different tones to the figure. Others decide to give the edge a re-do so it stands out. Some add pins, cotton balls, bells and thousands of other decorations. Customize it to your liking, be creative and enjoy the decoration!
This is a craft with only three steps, super easy to do and perfect to spend an afternoon with the family. Enjoy a Christmas made by hand and with a lot of love.


