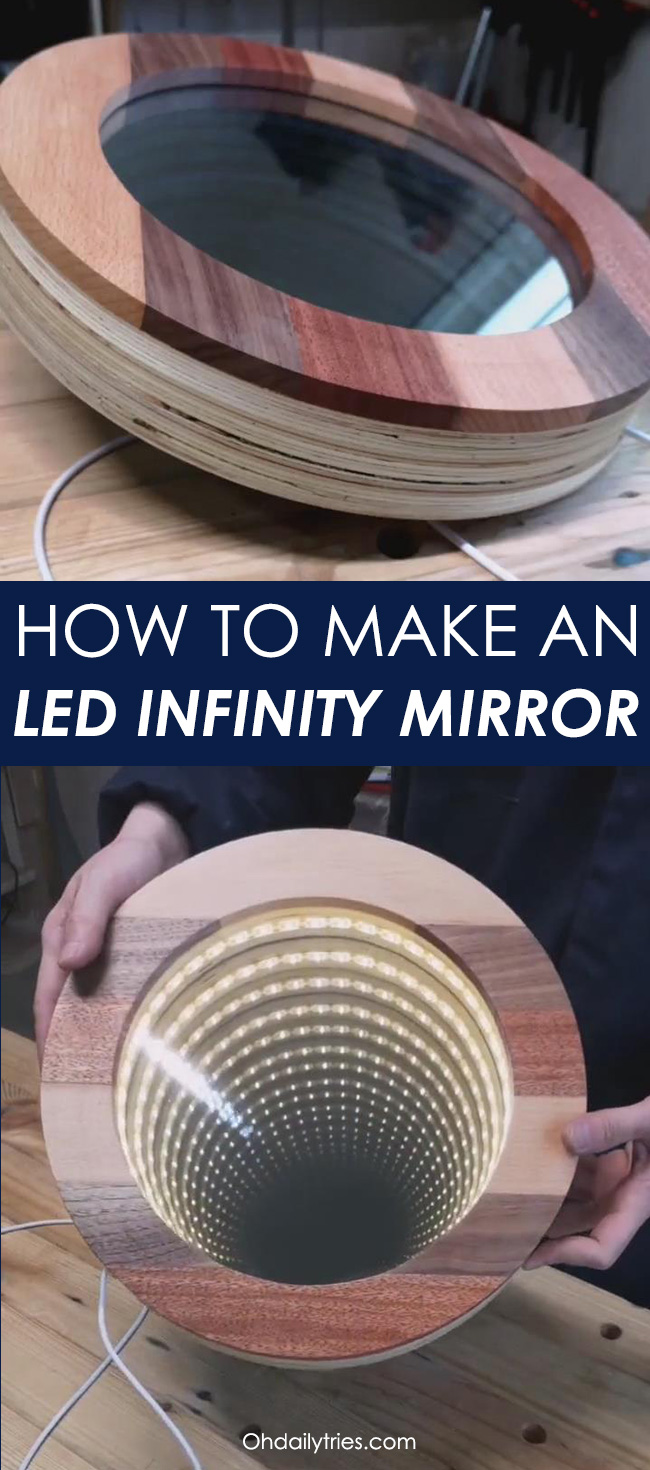
If you don’t know what this is, much less why you would consider making one, a quick image search on the internet should convince you that an LED infinity mirror is a great idea. If you didn’t understand the science behind it, you might think an infinity mirror is a portal to another dimension as you stare into endless rings of colorful light that extends further than your mind can even process. It’s amazing, it’s mind-blowing, and it seems so complex. However, if you have a workshop with a bandsaw, drill, some particle boards, wood glue, a mirror, and two-way glass, the only additional item you’ll probably need is a light source – an inexpensive LED strip works best. Besides a small amount of patience for letting the glue dry, the seemingly space-bending result seems almost too easy.
How do you get started?
Materials and Tools:
1. A workbench
2. Particle board or plywood
3. A bandsaw (or jigsaw if needed)
4. A jig for cutting circles
5. Wood glue
6. Clamps
7. A mirror
8. Two way glass
9. Adhesive LED Strip
10. A drill
11. Sandpaper
12. Screw clips
Directions:
Step 1:
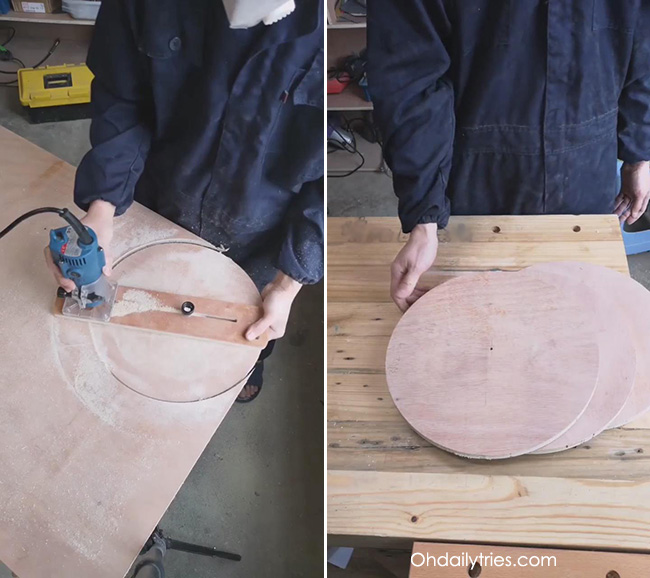
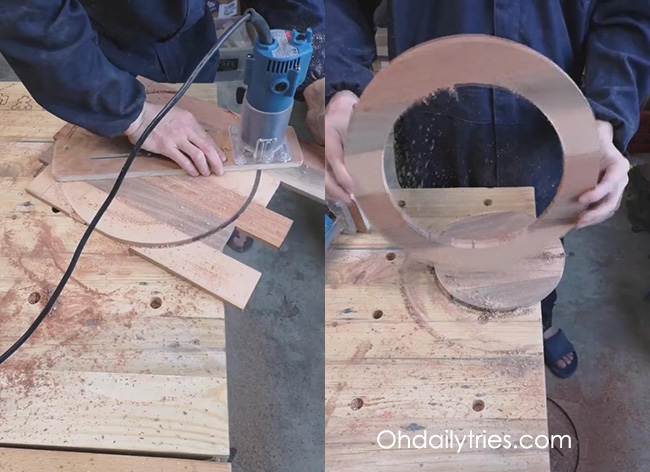
Attach your bandsaw (or jigsaw) to a circle jig and adjust it appropriately, marking the center. After making sure that the measurement is locked, cut out 3 equally sized circles from a large sheet of particle board or plywood.
Step 2:
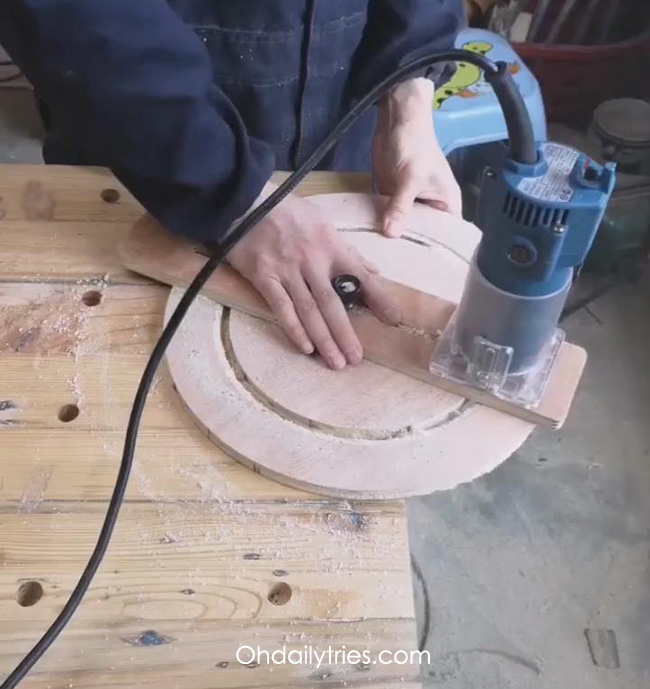
Create rings. After reattaching the jig, reduce the set measurement on your jig to create smaller equal sized holes for all three circles, and recycle the cutout board.
Step 3:
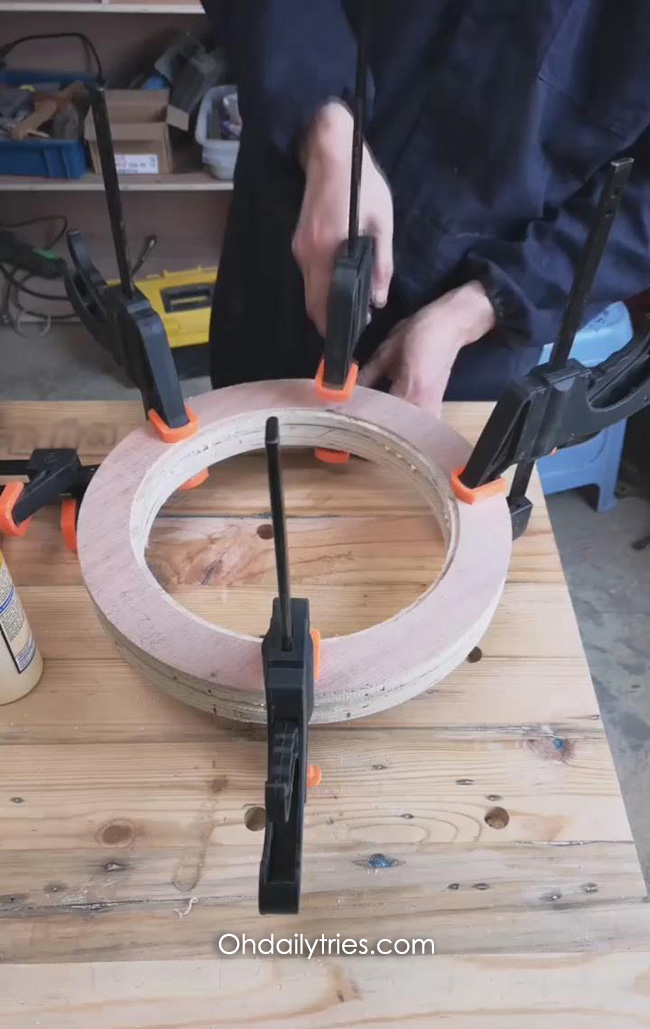
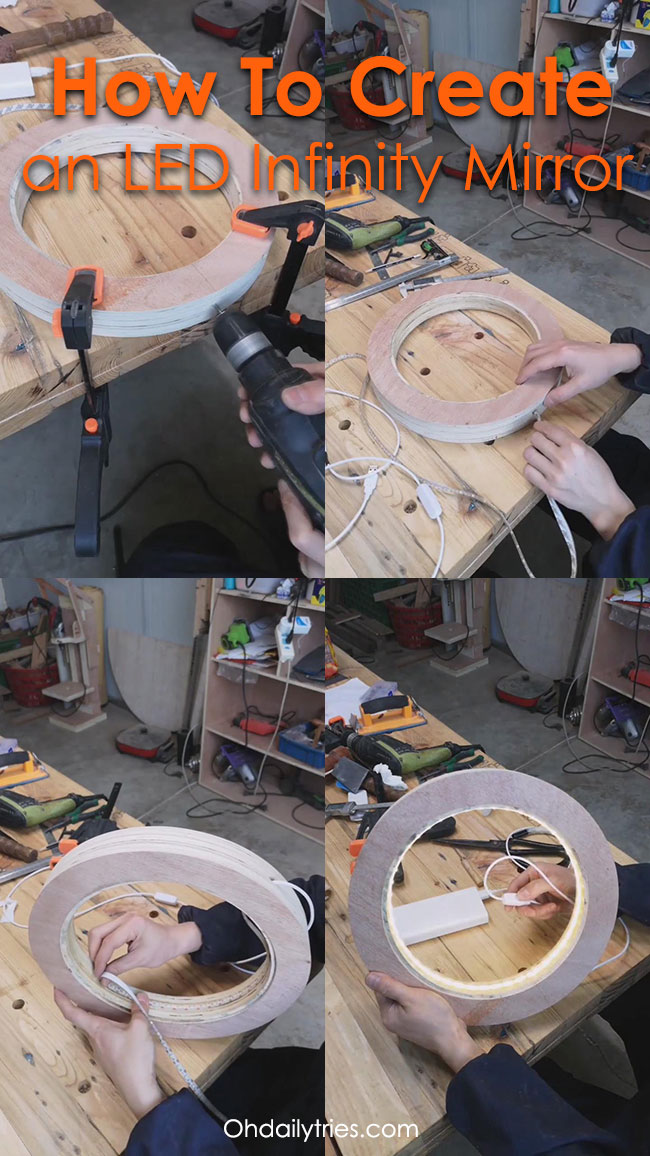
Apply wood glue to two sides of one of the rings. Stack the 3 rings evenly on top of one another, with the glued ring in the middle. Secure with clamps and wait for a few hours so the glue can dry.
Step 4:
Create two more rings based on the measurements of the first three, sanding them afterward. You can glue boards together if needed to create the required surface area – If you do not wish to wait additional hours, you can do this along with the previous step.
Step 5:
Remove clamps attached in step 3. You should now have what appears to be a stumpy cylinder. Using a drill, create a hole in the side of the “cylinder” large enough to let the LED strip pass through. Fasten the strip in a ring around the inner board, making sure it sticks.
Step 6:
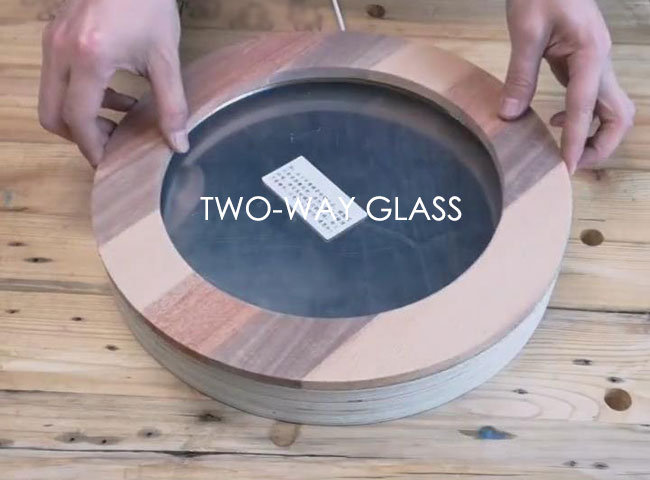
Cut out a circle slightly larger than the size of the cutout from the two way glass. Using more glue, layer one of the additional rings on top of the cylinder you made, top with more glue, add the two-way glass circle with the reflective side down so that it sits on top, and sandwich with the remaining ring. Wait for glue to dry.
Step 7:
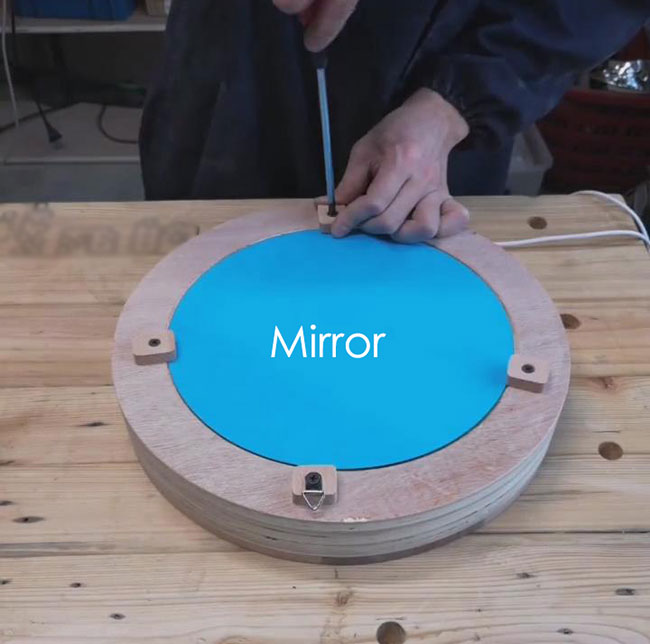
Cut out the mirror, sizing it to approximately the same radius (slightly larger than the hole so it sits snugly on top) as the two way glass circle in the last step. Flip project over and place the mirror with the reflective side facing in. Secure the mirror in place with four screw clips placed at 90 degrees from one another.
Step 8:
Polish your newly created infinity mirror if you choose. Activate LED and stare into the infinite vortex.
