What is the first thing that you often notice when you enter someone’s house? Others will say that it’s the couch, television, the painted walls, or the clock. As odd as it sounds, there are people who cannot help but locate the clock first when they go to a specific house. We can’t blame them, clocks give us the power to know time. Therefore, it is worth it to make your clocks at home beautiful and elegant-looking. We are not saying that you need to buy expensive ones. We’re saying that you can reinvent and redesign your old clocks and other affordable clocks in the market too!
Let’s face it, buying a new luxurious clock will empty your pockets out of a few dollars. If you don’t have any idea how to start making an aesthetic clock using cheap materials, then you can try our bunny themed IKEA clock makeover. In fact, it can be a good easter home decoration too!
But before we start moving, we need to prepare the following tools and materials first:
- IKEA Stomma Silent Quartz Clock
- Colorful simulation cream glue
- Paint brush
- Acrylic paint in lavender
- 2 printed bunny stickers
- Printed short quotation (optional)
- Lavender Pen/Marker
- Toy bunny Ear
- Other mini accessories such as Ribbons, bunny ears, stars, etc.
Instructions:
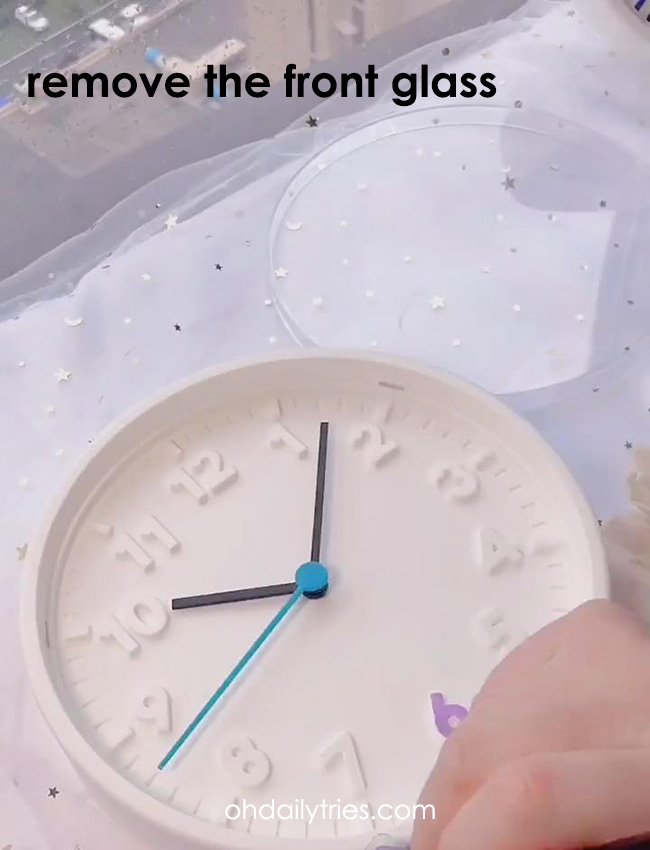
● Step 1: Prepare the materials and get your IKEA Stomma Silent Quartz Clock first. To officially design the clock, remove the front glass that protects the clock hands.
● Step 2: Get your paint brush and acrylic paint in lavender. Actually, you can use whatever easter color you prefer but lavender is the model shade for this one. Aside from acrylics, you can use poster colors or permanent paints too.
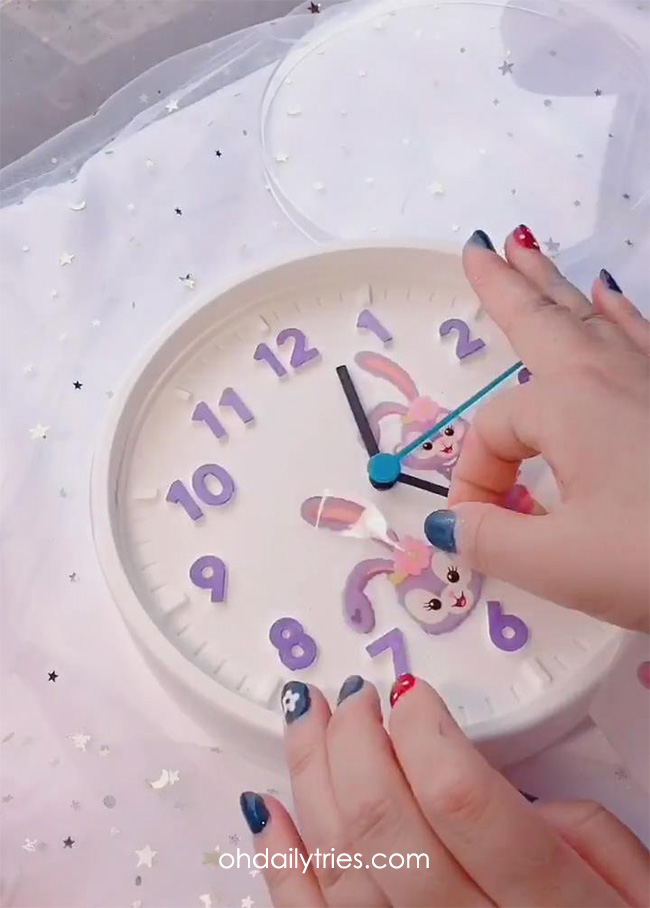
What you need to do here is to first trace and paint all the numbers from 1-12 using your lavender paint. Do it as neatly as possible because you don’t want a messy outcome for this one.

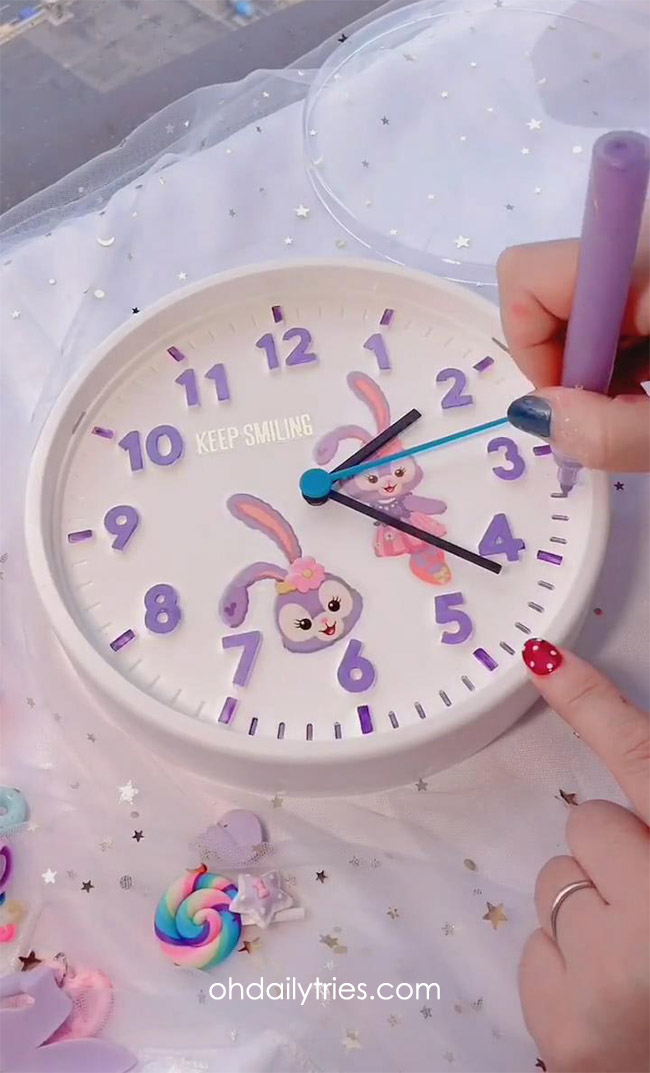
● Step 3: After painting the numbers, you need to let it dry and get your 2 bunny stickers. Paste them in the middle area of the clock. You can also paste a short quotation like “Keep smiling” or “keep moving” on the top corner too.
● Step 4: Now, you can start painting the clock inserts using your lavender pen/marker. These are the lines between each number.
● Step 5: This part will require you to get the colorful simulation cream glue. Spread it nicely around the clock. It’s just like designing the outer round part of a cake.

● Step 6: Get the toy bunny ear and place it on top of the clock. You know you’re doing it right if the clock now looks like a round faced bunny. Then, paste your mini accessories on top of the colorful glue around the clock. Make sure that the color of the accessories compliment the lavender paint. Wait for everything to dry. After that, you’re done with your IKEA clock makeover!

See? It is that easy! Follow these 6 steps in making a bunny themed clock and you’re good to go!