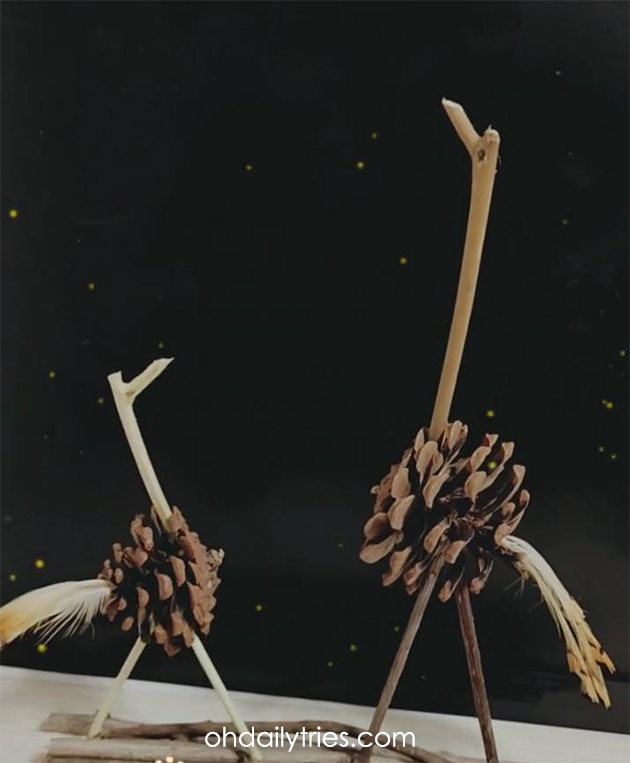
Now is the time to start collecting items for your fall and winter crafts. Today we will make a perfectly cute pine cone ostrich.
How To Make A Pine Cone Ostrich
Children love making things, whether that is getting messy with paint, sticking or gluing, or learning how to stretch their creative imaginations. This super ostrich (mother and baby) can be made from perfectly natural products found on your woodland walk. If you haven’t been out and about lately, this is the perfect time of year to stock up your craft box on nature’s bounty ready to start crafting over the dark winter months.
This really is such a simple idea and once you have made the ostrich, you can either leave it in its natural state or jazz it up with glitter, etc. In fact, you could also use the same principal to make other pine cone animals. Let’s see what we need to start.
What You Need To Make Your Pine Cone Ostrich
Your little ones will love making this adorable creative craft with you and the beauty is you can make it from things you find out in nature. Before you start make sure all your items have been dried out and are clean and free from dust, mud, debris, etc. You don’t need much for this craft. You just need:
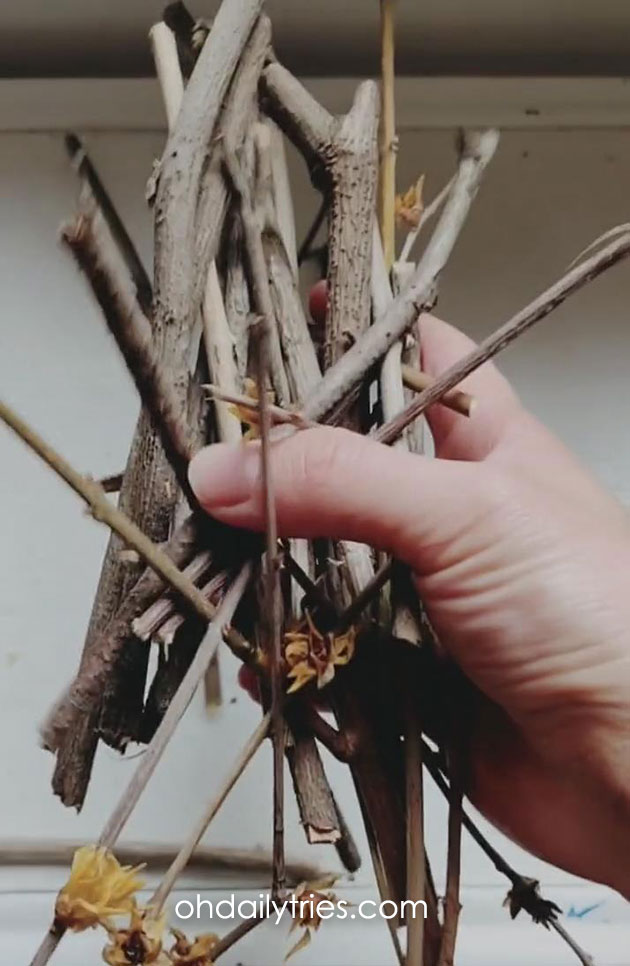
- Handful of different sized twigs
- Pine cones (different sizes for different sized ostriches)
- A few small feathers (either bought or found)
- Glue
Getting Started On Your Pine Cone Ostrich
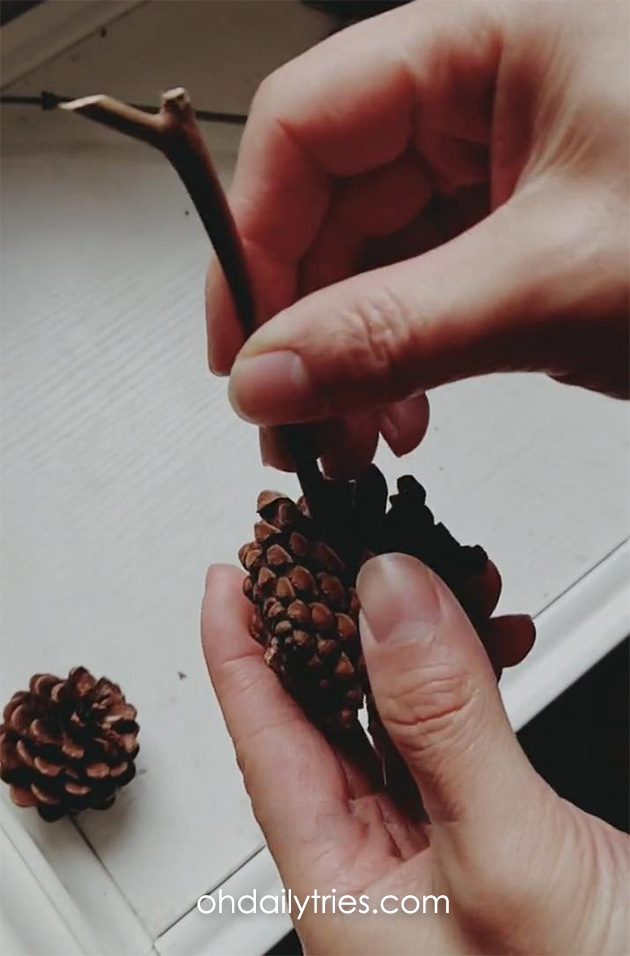
Step 1: Choose your pine cone. It should be open rather than closed and if you have left it in a dry area it should already be open.
Hold the pine cone length ways so and choose a thicker twig for the neck. Choose one that has a sprut at the top so it looks like a beak.
Insert the bottom of the twig into the center of the pine cone, just a little way from the flatter end of the pine cone.
That’s it for the head and neck. See easy!
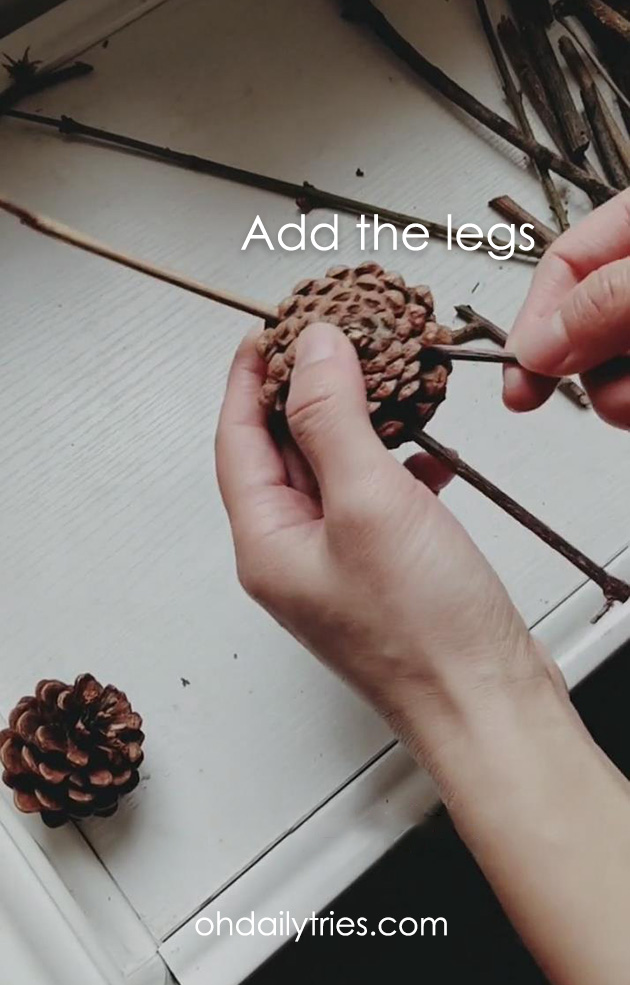
Next We’ll Add the Legs And Feathers
Step 2: Choose 2 similar sized twigs for the legs.
Insert the twigs into the underneath of your pine cone equally spaced apart so they can support the ostrich.
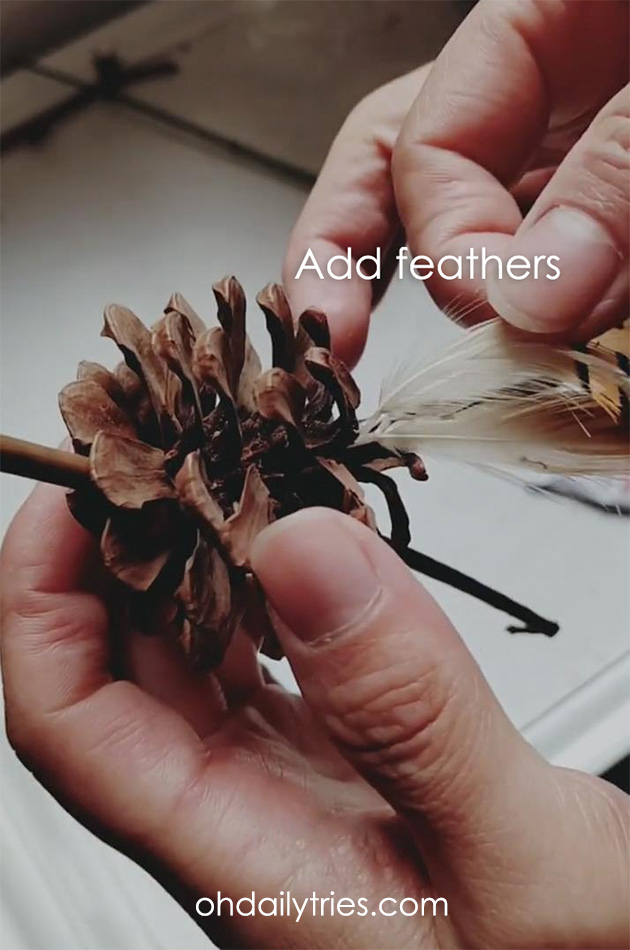
Next add a little glue to the end of the feathers and insert into the thinner end of the pine cone to create tail feathers.
Ready For The Base
Step 3: Take a few of your leftover twigs and glue side by side to create a base for the ostrich.
Put a little glue onto the bottom of the legs of your ostrich and firmly attach to the base.

And there you have it! You can make as many ostriches as you want to create your ostrich family. You can use colored feathers if you have any and you can decorate the finished product any way you want, or just leave it in its natural state.