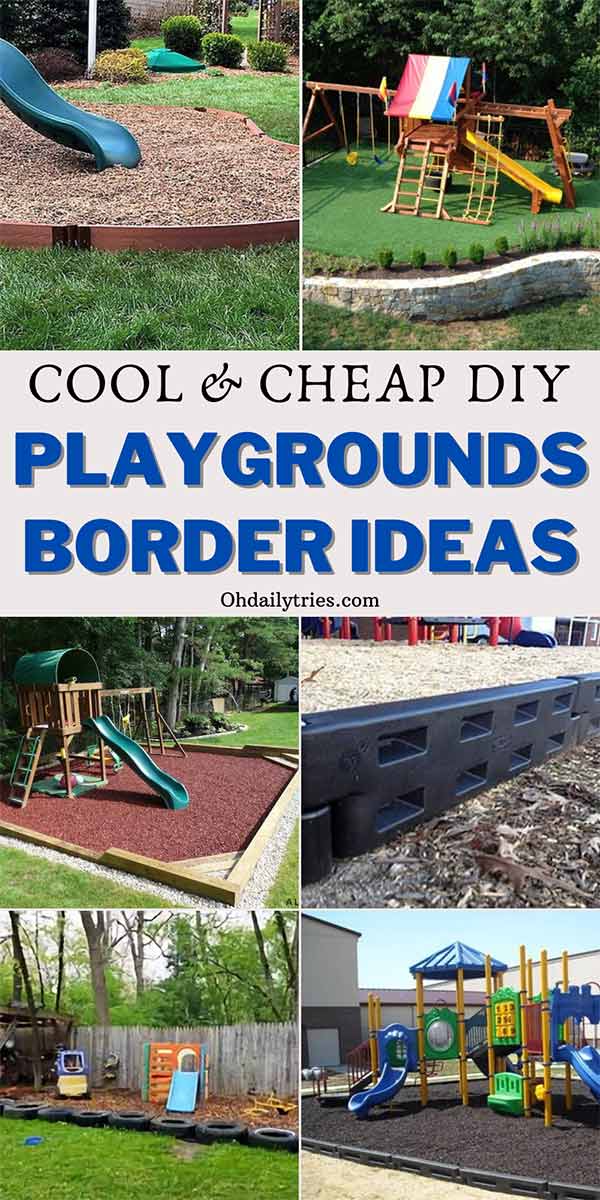
Every parent knows the “struggle”: you set up a beautiful swing set, and within a week, the mulch is all over the lawn, and the grass is creeping into the play area.
Creating a dedicated playground shouldn’t break the bank, but it does need a solid boundary. A great border doesn’t just keep the safety surfacing in place—it creates a “magic zone” where kids know the fun begins and parents know they are safe.
#1. “Frame it All” Playground Border
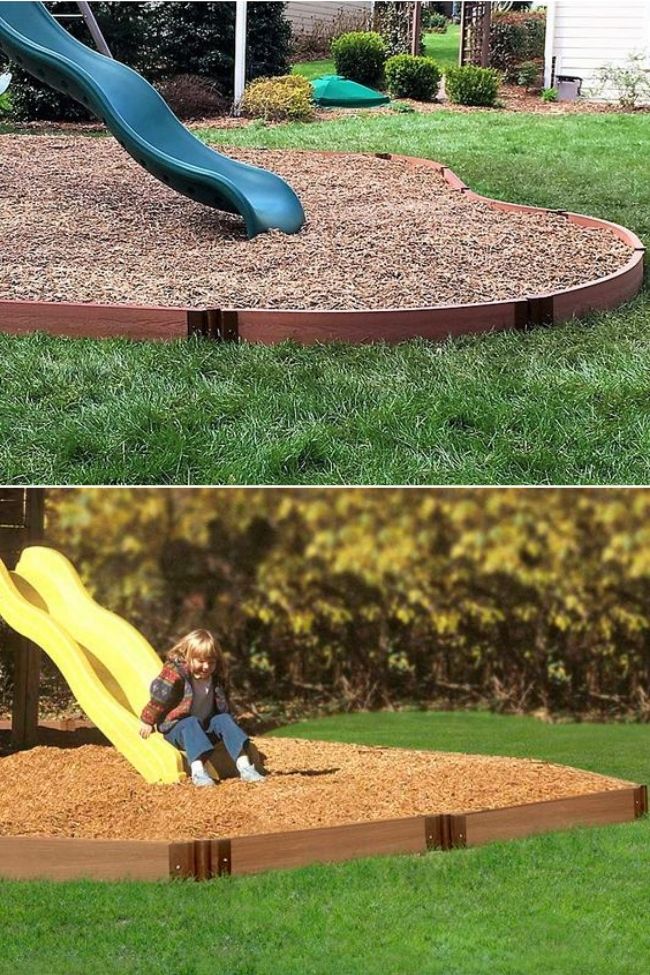
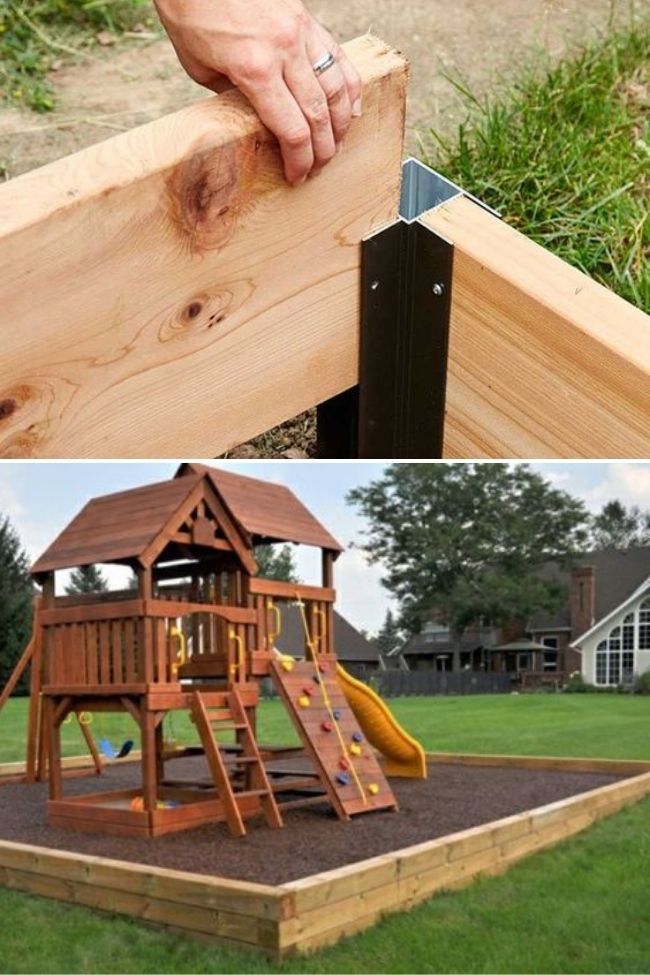
The “Zero-Stress” Weekend Upgrade. If you’re not a DIY expert, this snap-and-lock system is a lifesaver. Imagine finishing your entire playground border in just one Saturday afternoon. No splinters, no toxic chemicals—just a clean, professional-looking boundary that lets you relax while the kids play.
Quick Tip: I’ve streamlined these steps to sound more like a helpful guide for a homeowner.
How to Install Your Playground Border like a Pro:
-
Clear the Landing Zone: Pick your spot and give yourself a 6-foot “safety buffer” all around the equipment. You want plenty of room for those big jumps off the swings!
-
Map it Out: Use some string and stakes to visualize the shape. This is the “measure twice, cut once” moment—make sure you love the layout before you start digging.
-
Snap & Secure: If you’re using composite or plastic, click your pieces together. If using wood, ensure your brackets are snug. This is what keeps your border from shifting when kids start running.
-
Lock it Down: Hammer those stakes deep into the ground. A stable border is a safe border.
-
The Finishing Touch: Fill your new “arena” with your choice of mulch or rubber. Level it out, step back, and get ready for the kids to give it the ultimate test run!
#1.Rubber Playground Barrier
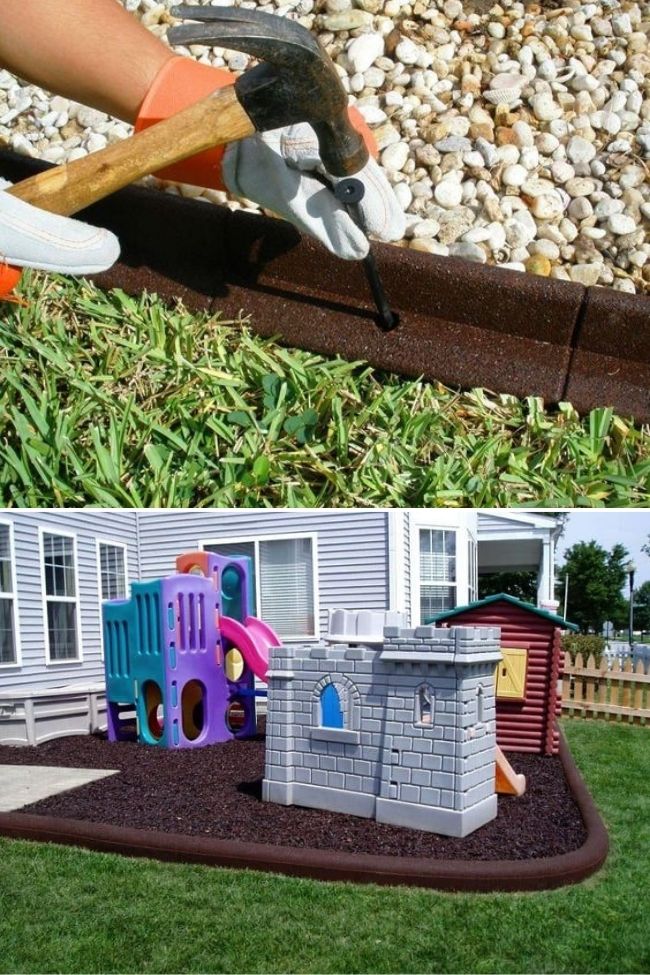
No More Muddy After-Rain Blues. We’ve all been there: the rain stops, the kids want to go out, but the playground is a swamp. These rubber timbers feature built-in drainage, meaning no puddles and no soggy shoes. Plus, the soft edges are incredibly forgiving for those inevitable toddler stumbles.
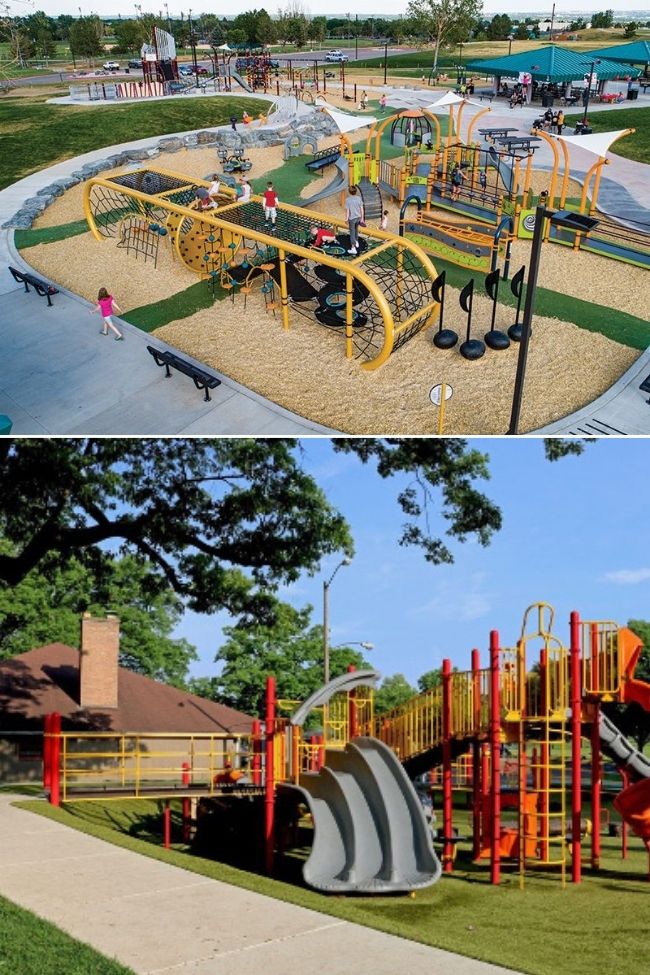
#2. Plastic Playground Bordering
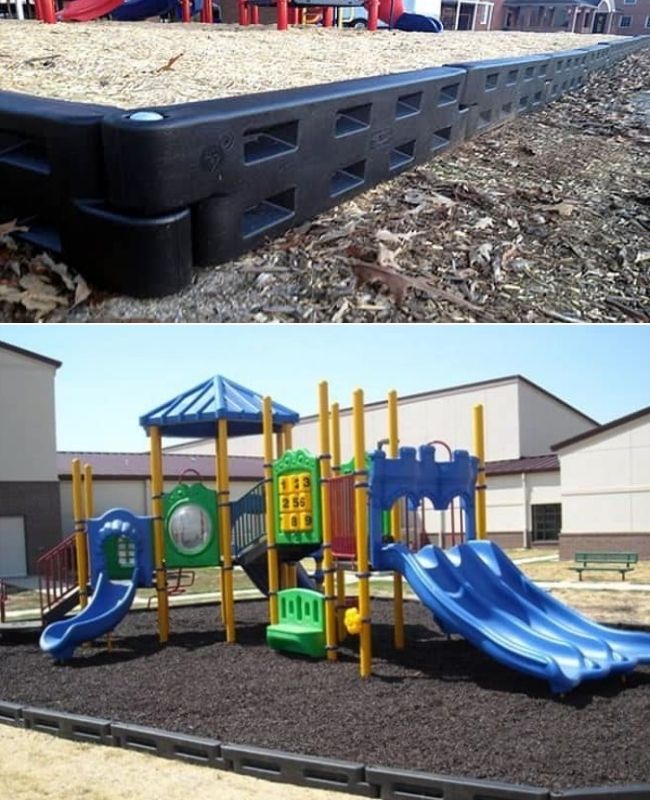
The “Pro-Park” Look at Home. Bring that sturdy, colorful schoolyard feel to your own backyard. These heavy-duty plastic borders are practically indestructible. They stand up to weed-whackers and lawnmowers, keeping your play zone looking sharp and organized year-round.
#3. Recycled Tire Playground Border
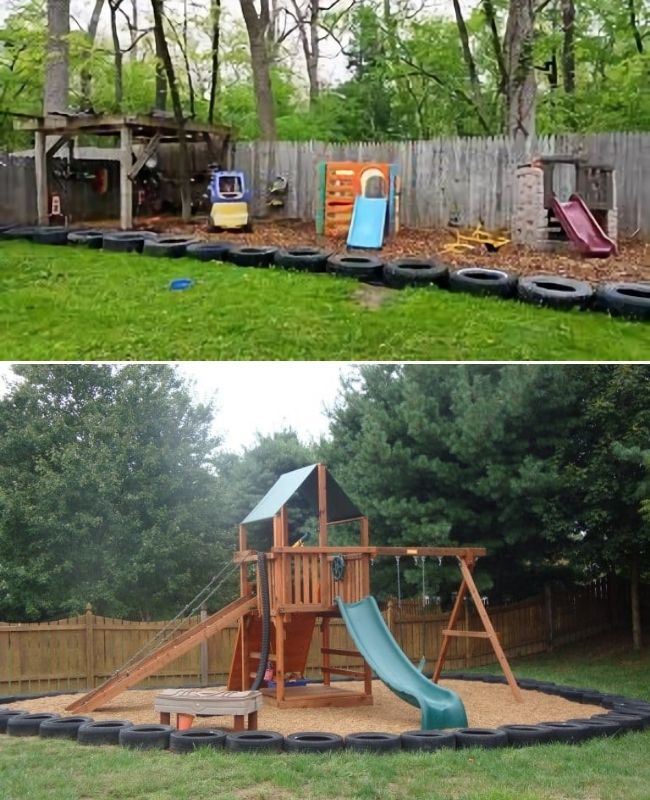
The Eco-Friendly Adventure Zone. This is the ultimate budget-friendly project with a big personality. Paint the tires in bright, bold colors to create a whimsical, bouncy boundary. It’s not just a border; it’s an extra “obstacle course” for the kids to hop across!
#4. Wood Logs for a Raised Play Area
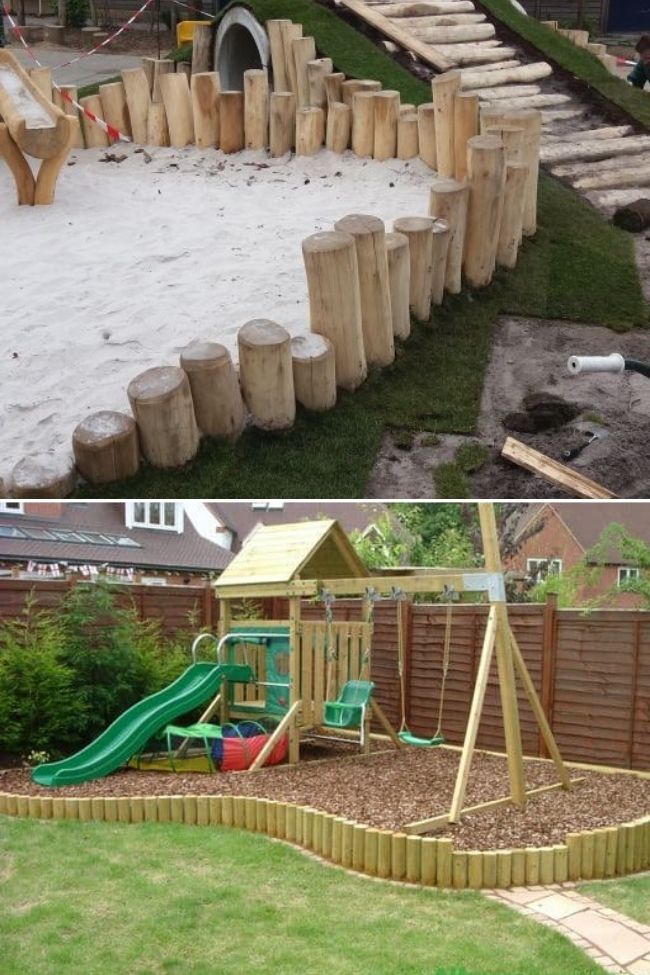
The “Forest School” Aesthetic. If you love the natural, rustic look, nothing beats real wood logs. It blends perfectly into a wooded backyard. It creates a beautiful “sunken” play area feel that looks more like a landscape feature than just a playground.
#6. Timber Wood Border Landscape
Clean Lines and Classic Style. Using landscape timbers is the “Old Reliable” of DIY. It gives you a crisp, clean edge that keeps wood chips exactly where they belong. Stack them two-high to create a cozy, defined “fort” feel that keeps the dog from wandering into the play sand.
#7. Faux Stone Border
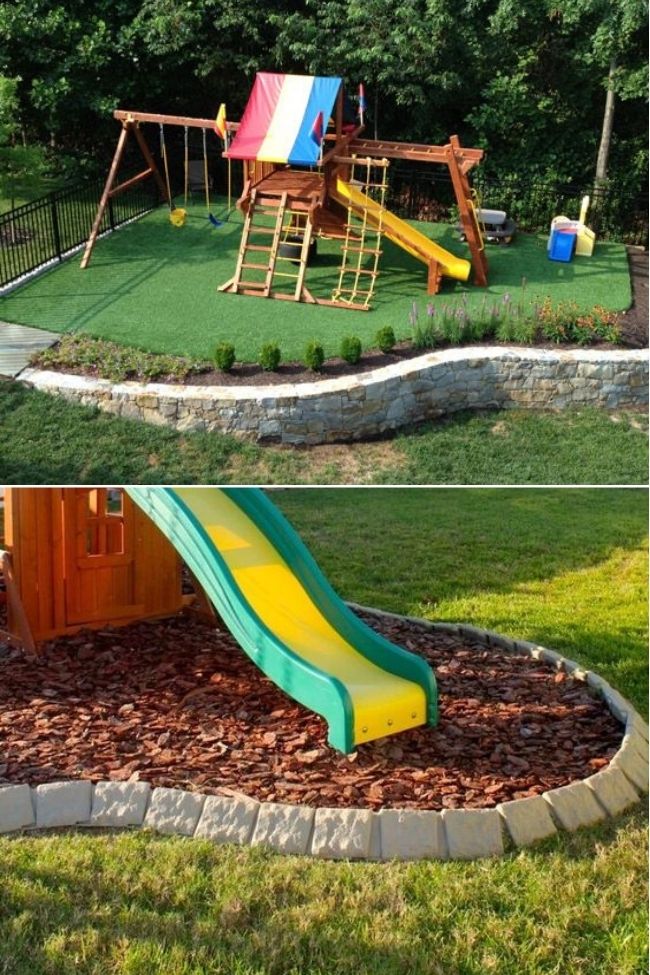
High-End Charm without the Heavy Lifting. Get the look of a luxury stone estate without the back-breaking labor of hauling real rocks. These faux stone borders add an instant touch of “English Garden” elegance to your play area, staying cool to the touch even on hot summer days.
#8. Concrete Enclosement Pathway
The Ultimate “Trike Track” Border. Why settle for just a border when it can be a racetrack? A smooth concrete edge doubles as a perfect path for tricycles and scooters. It’s the permanent, “set it and forget it” solution for a backyard that’s built to last for generations.