Want to create different moods inside your room? One simple (but with amazing results) way is to use lights. You can use bright lights to perk you up or dim lights if you want to relax. Create the mood that you want through a secondary light source.
But you can’t change all your light bulbs to blue, or red or yellow. Besides, putting up a corner lamp, stringing lights across your room or sticking them on your wall just spell boring.
So what can be a happy alternative to the plain bulb? Bring in the clouds!
We are going to teach you how to create fluffy clouds which can glow in the dark, make to flicker lights for fun, beam sunshine in the morning or sparkle at Christmas. You choose your mood.
You can make this a surprise project for friends too.
First, gather and organize materials you will need :
- Plastic bottle, depends on the size of cloud you want
- Lots of Cotton or Fiberfill
- Battery operated LED lights in your choice of color
- Fishing line or any Clear string
- Glue gun and glue stick
- For the 3D Raindrops : (Raindrop pattern, Blue felt paper, Glue, Scissors)
And, start to create!
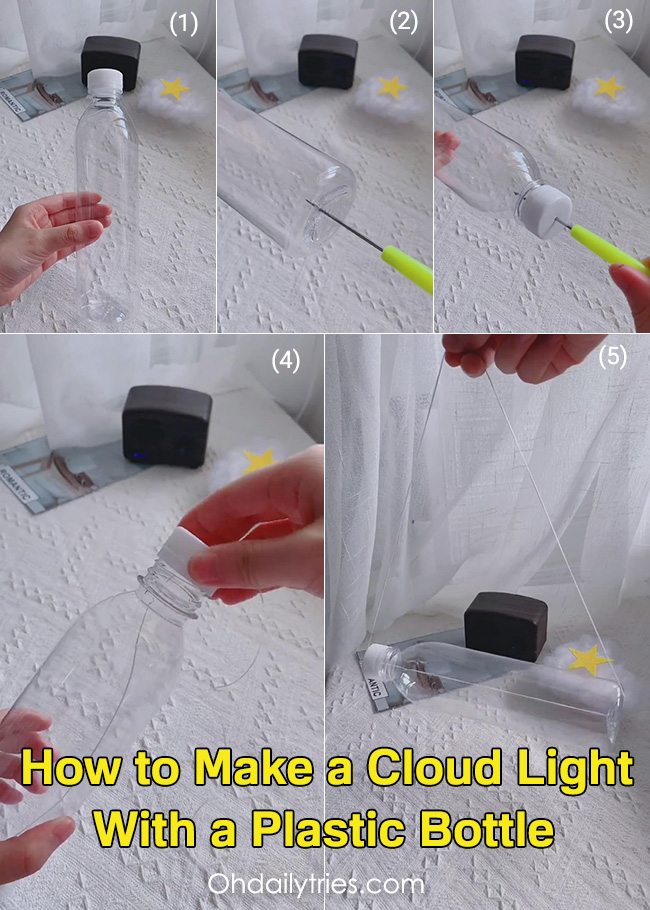
Step 1. Punch a hole in the middle of the plastic bottle bottom and the bottle cap.
Step 2. Decide how high or low you want your clouds to be from the ceiling. This will be the basis of your string length. Insert your string through the bottom hole and through the bottle cap hole and then tie both ends. This will hold your clouds in the air.
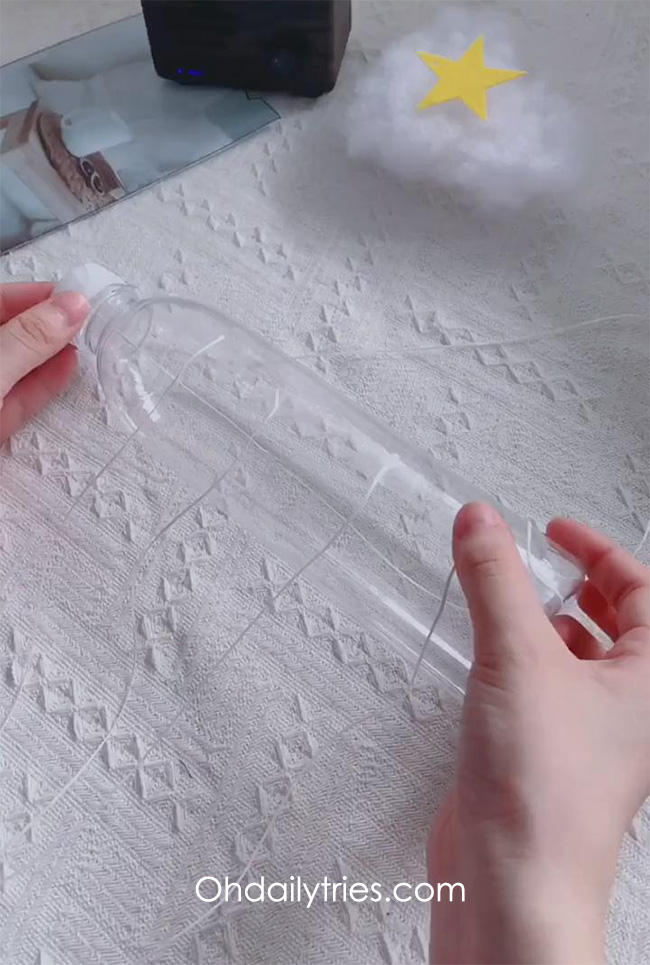
Step 3. Cut 4 strings, in different lengths, and glue each string on the bottle in about 1” distance from each other. Let it hang in there for a while. This is going to be for your raindrops.
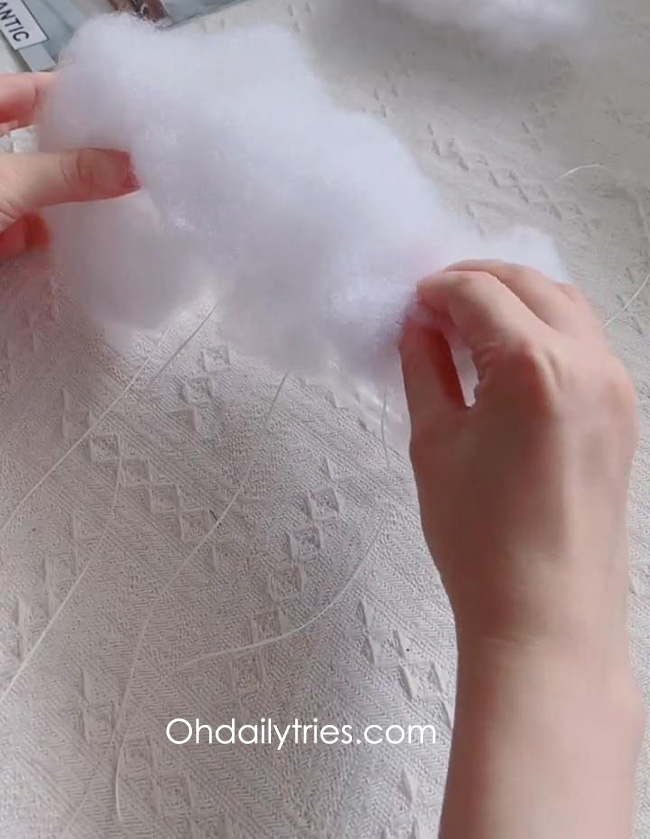
Step 4. Now, using your glue gun, carefully start to glue the cotton on your plastic bottle to resemble your clouds. The more cotton you attach, the bigger your clouds would be. But use restraint, okay? Stop when you reach your desired fluffiness.
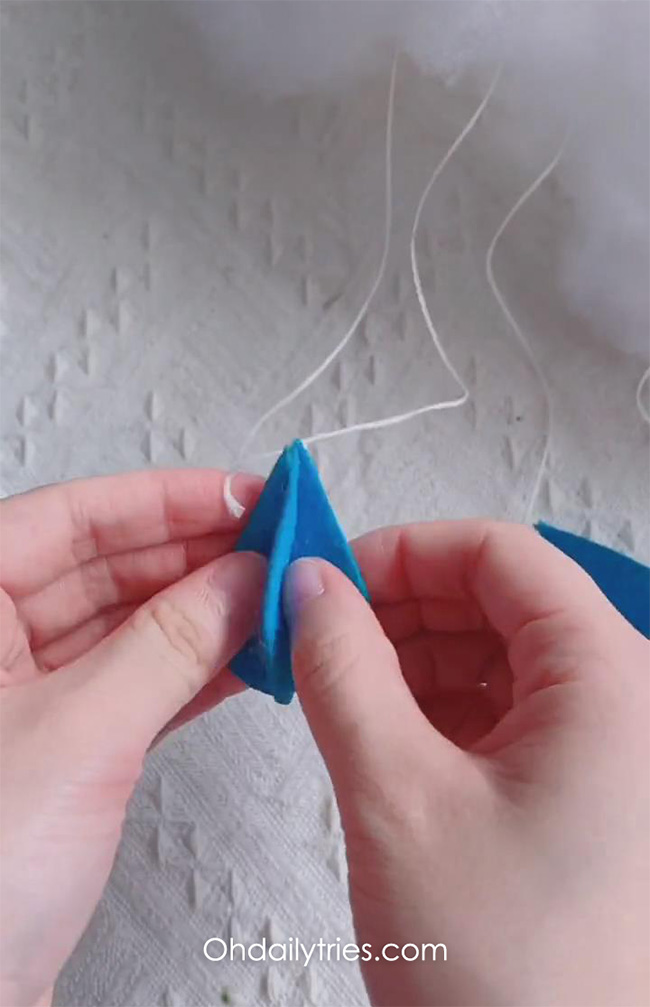
Step 5. How to make 3D raindrops :
Look for a raindrop pattern and copy on felt paper.
Cut pattern. Fold the raindrops in half, horizontally.
Glue one side of the fold and stick to the next raindrop. Do this all the way around. This makes 1 raindrop. Make 4.
Step 6. Attach each raindrop to each of the 4 strings which are hanging from the plastic bottle. Glue the hanging end of the string on the top end of each 3D raindrop. Let it sufficiently dry before moving to the last step.
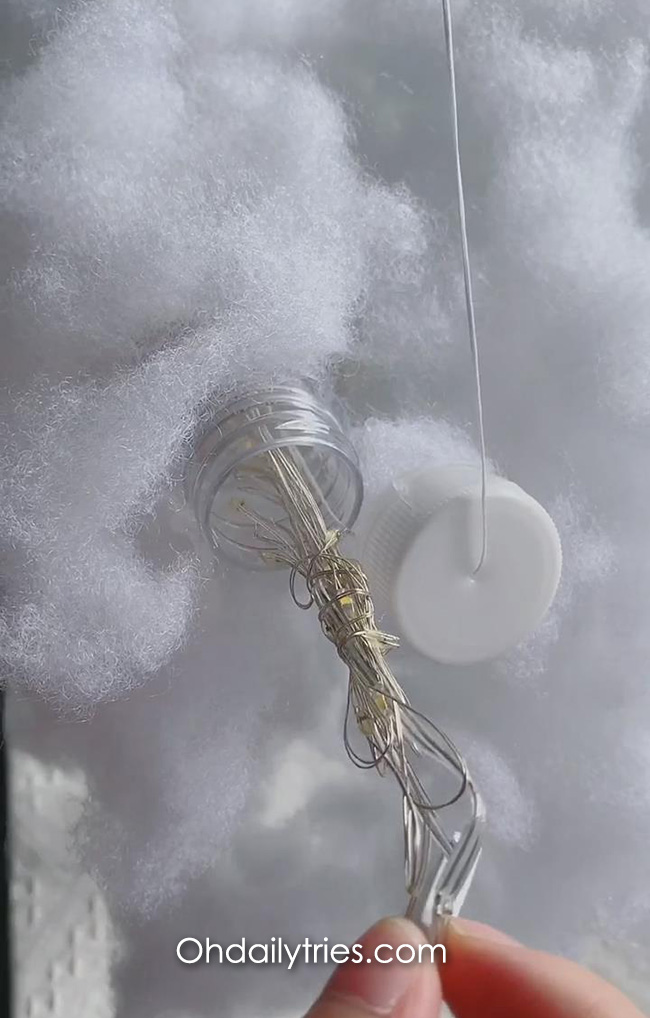
Step 7. And for the last step, place your LED string light inside the bottle. Glue, and make sure it’s strong, the battery pack to the side of the bottle. Remember that you have to change battery eventually, so be mindful to glue the right side.
Step 8. You may also cut out stars and moon and glue them on your clouds, as accents.
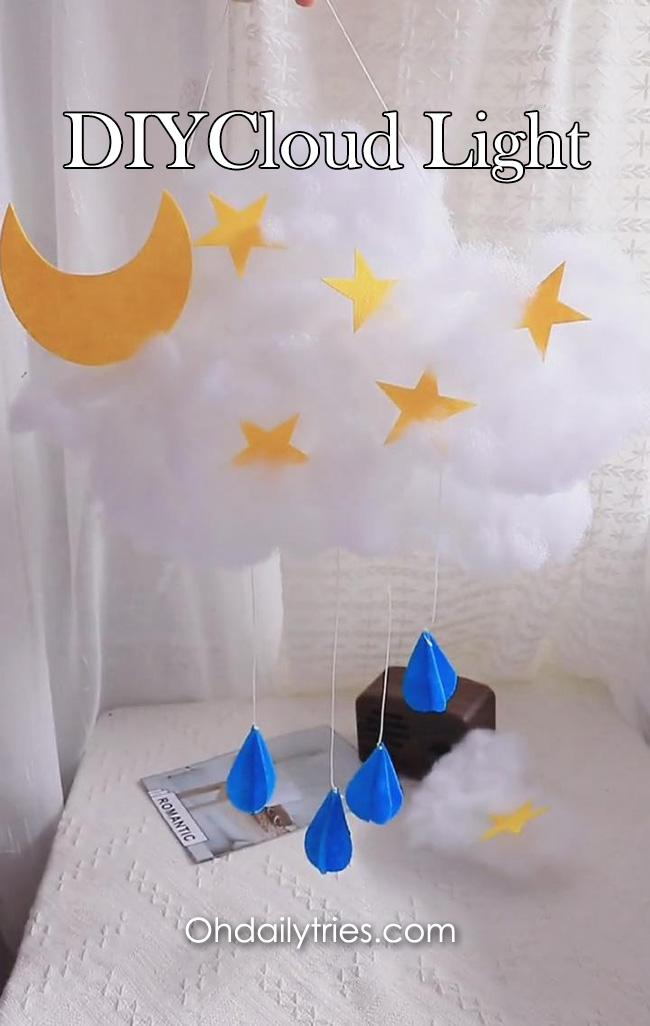
Step 9. Find the best corner of your room for your clouds. Hang and light!
