Halloween is close at hand, so what better time to start your spooky craft making. Here is a super ghostly pumpkin that your child can help make with you. This Halloween lantern craft is easy and so much fun to make.
Look at our latest Halloween luminary craft:

How To Make A Spooky Luminary Pumpkin Lantern
Halloween is such a fun time of year and is the perfect time to put all your crafting skills to the test. You still have time to save all those empty plastic bottles to complete this craft and colored paper can be acquired cheaply. Of course, you can choose to be really arty and have a different colored or jazzy pumpkin. The choice is yours. Ready to get started?
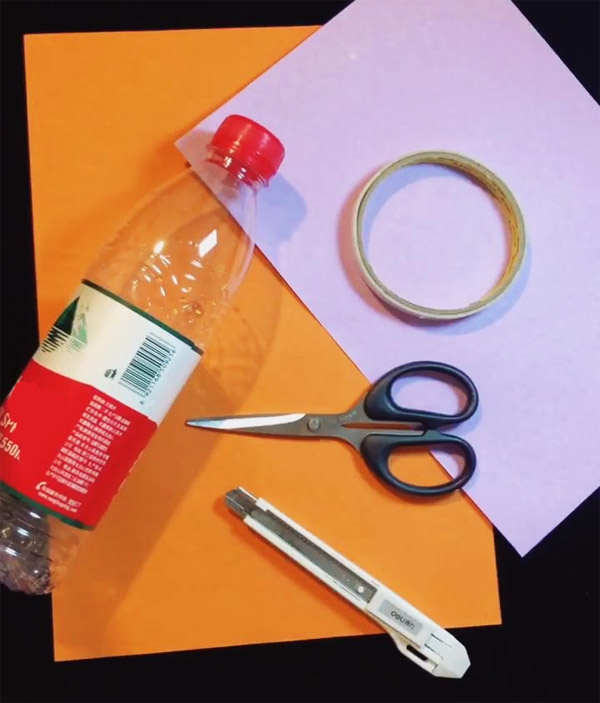
First, we need to assemble the essentials. Don’t worry it is made from bits and pieces you already have around the house.
What You Need To Make Your Light-Up Pumpkin:
• Empty plastic bottle
• Double-sided tape
• Scissors
• Sharp knife (adults only)
• Ruler (or something with a straight edge)
• 1 sheet of orange colored paper
• 1 sheet black colored paper
• 1 sheet of light purple colored paper
• Glue
• Your mobile phone (or inexpensive LED bulbs)
Let’s Get Started:
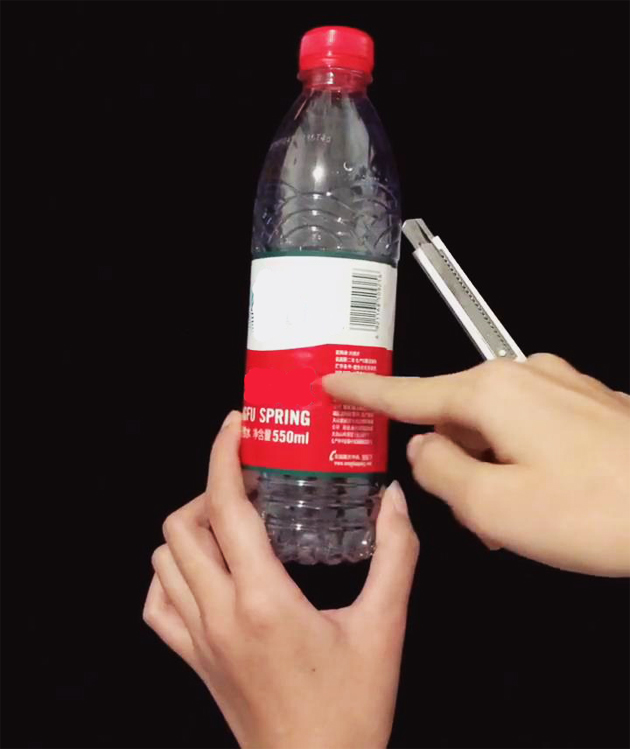
Step 1: Take the empty plastic bottle and the scissors and cut at the point indicated – about 1/3 of the way down the bottle.
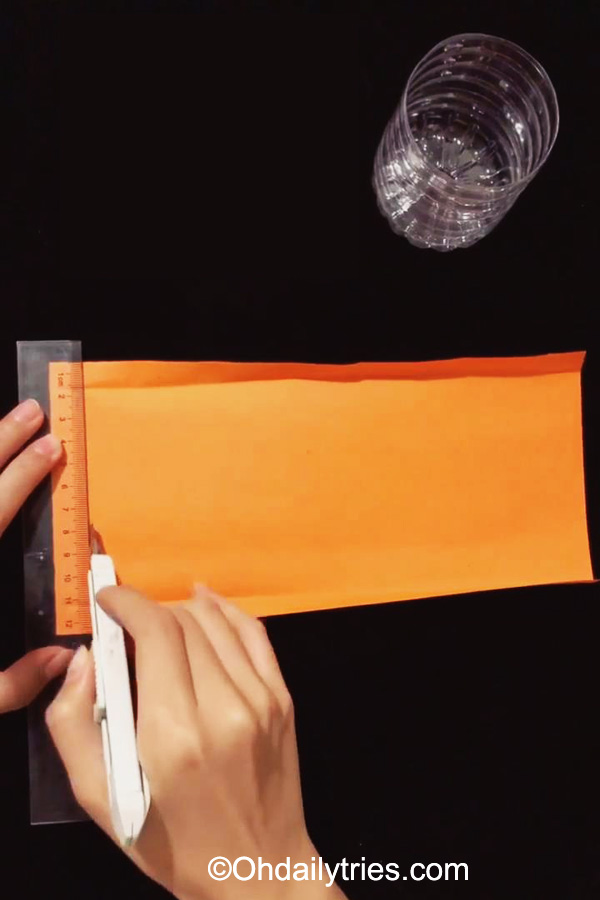
Step 2: Next take your orange colored paper and measure it against the bottle. You will need to make sure it is a little longer than the bottle as you will fold the edges over. Keep the full width of the paper as it is. Then fold the top and bottom over as in the diagram, so it fits the bottle.

Step 3: Take your plastic ruler (or whatever you have chosen for the straight edge, as well as your sharp knife and place on a safe hard surface. Use the knife to slit lines between the top and the bottom of the orange paper. Only go as far as the crease you have made.
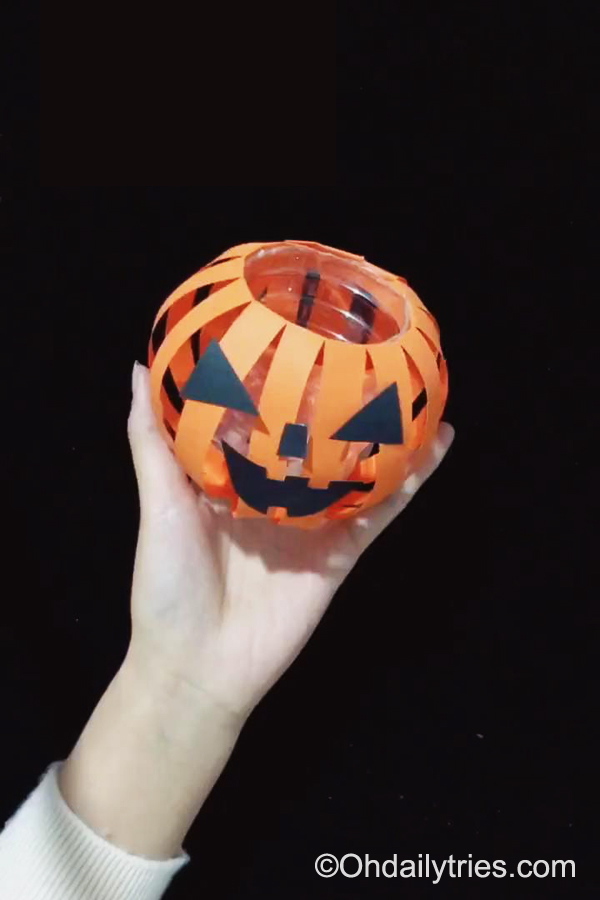
Step 4: Cut 2 pieces of the double-sided tape and place it around the top edge of the plastic bottle and the bottom. Fix the orange paper to it so it fans out as in the diagram.

Step 5: Cut eyes, nose and a mouth shape from the back paper and glue to one side of your lantern.
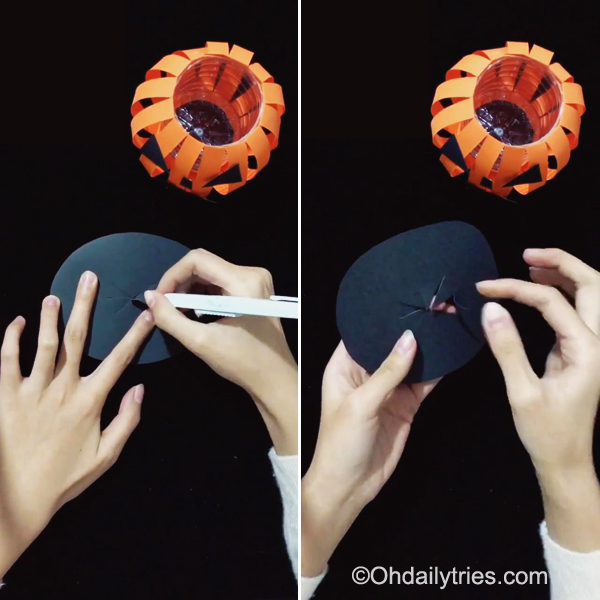
Step 6: Draw a circle on the black paper and cut it out. Use your sharp knife to make holes in the centre to insert the cone for the hat. The best way to do that is to make small incisions from the central point out. Open up the shape as in the diagram.
Step 7: Make a small square from the light purple paper and fold the 2 outer edges in (so it makes a triangular/cone shape). Cut the excess off the bottom as in the diagram.

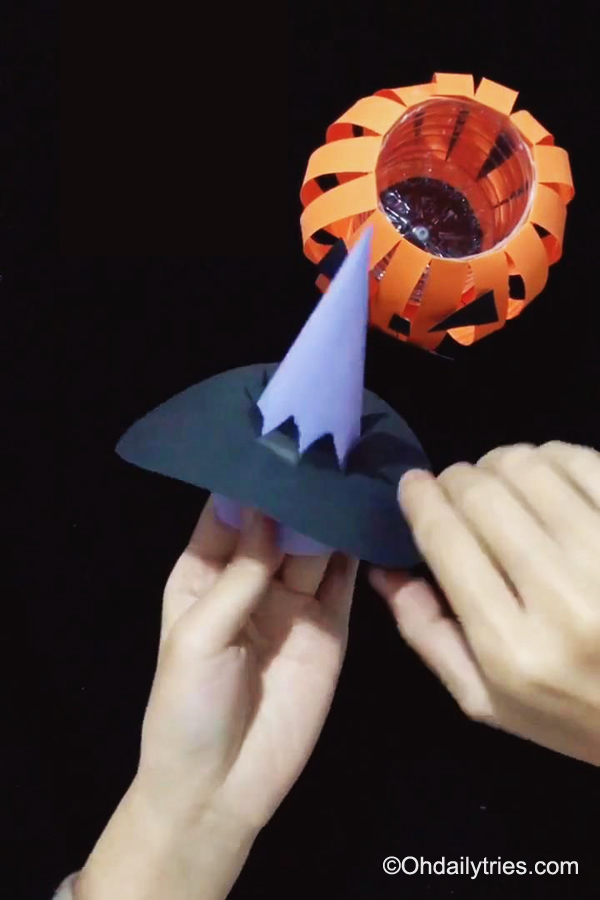
Step 8: Insert the light purple cone through the black circle you have made to create the hat. You can use glue or double-sided tape to secure it to your pumpkin.
Finishing Up
That’s It!! Your Halloween luminary craft is ready. You just need to place it on your mobile phone and press your flash and watch it light up!
Alternatively, you can pop an LED light inside the bottom (you will have to make a small hole in the bottle to do that) and watch it light up!

