If you are looking for spooctacularly simple Halloween paper craft ideas to entertain your children look at what we have to offer. This ghastly rocking paper witch is very simple to make and will spark all kinds of other ghostly ideas to try. Let’s dig in!!
How To Make A Rocking Paper Witch
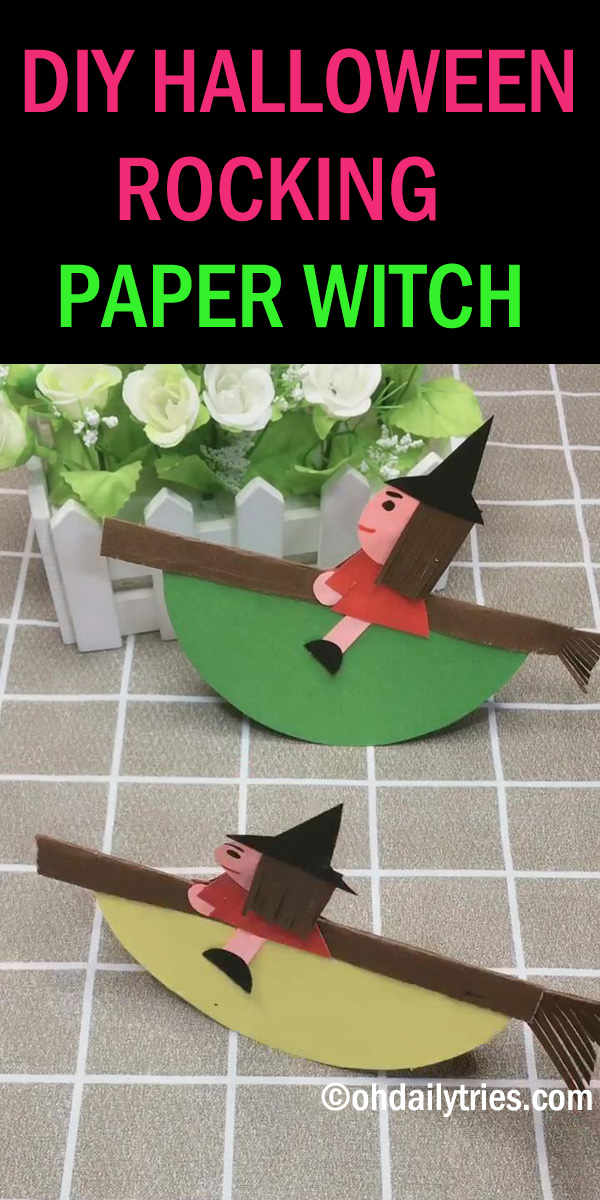
This simple idea can be changed to make any kind of ghostly being you care to think of, but we love our rocking paper witch. You can make her from a range of colored paper (or card). You can make her in any size, so any leftover paper or card from previous projects is idea. If you have none left – start saving them up now.
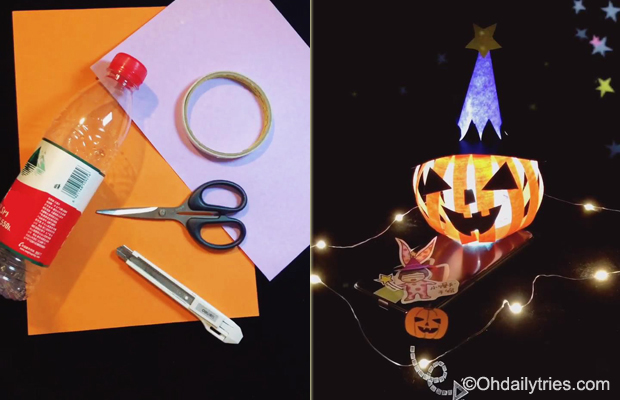
What You Need To Make Your Rocking Paper Witch:
- Something circular to draw around such as a plastic bottle
- Glue
- Scissors
- Brown, green, pink red, yellow paper or card (or any colors you want to be funky!)
- Black marker pen
Getting Started On Your Rocking Paper Witch
Step 1: Place your bottle on your chose paper for the rocker and draw around it to make a large circle.
Fold the circle in half.Stand the circle (rocker) up.
That’s the first bit completed! Feeling’ great.

Next We’ll Make The Broomstick:
Step 2: Cut 1 long rectangle of brown paper (for the broom) a little larger than your rocker circle.
Fold the paper in half and put glue all over the inside edge. Next slot the glued edge over each side of the rocker.
Cut a small triangle of brown paper and fold in half. Cut small incisions (to make it look like brushes) and glue to the end of the broom.

Now, We’ll Make The Witch And Her Hat:
Step 3: Cut 2 triangles from the red paper as in the diagram (to create the body).
Cut 2 small circles (for hands) and a larger circle (for the face) from the pink paper. Also cut 2 rectangles for the legs.
Cut a small circle (for the feet) from the black paper and cut the circle in half (to make two boots). Also cut 2 shapes to make the hat (as per the diagram).
Cut 2 small squares from the brown paper (for hair).

Ready To Put It All Together?
Step 4: Glue one black boot onto the end of one pink leg. Then glue that onto the back of one of the red triangles. Make sure it is at an angle like the diagram. Make sure the straight edge of the boot is at the bottom. Repeat for the second leg.
Next glue the smaller pink triangle onto the inside of the red triangle (to form the hands).
Next glue the triangles onto the broomstick as per the diagram, making sure they are at each side of the broomstick.
Glue the pink circle(face) onto the top of the red triangle. Take your black marker pen and create a face with eyes, nose and mouth.
Now make small cuts in each of the brown squares (not quite to the top) to make her hair (see diagram). Glue that to the back of the head on each side.
Now glue the black hat to each side of the hair.

And there you have it! Your first Halloween paper craft – a superb Rocking Paper Witch. If you want to get creative you can jazz it up any way you want.