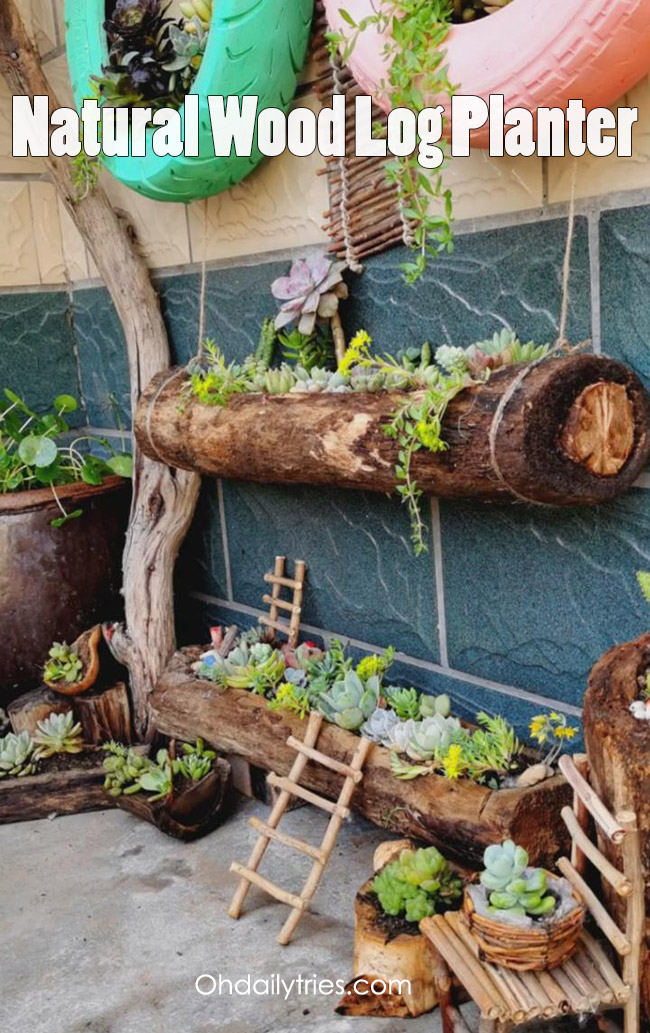
Whilst out for a woodland walk, why not collect logs and pieces of wood for creative crafts over the winter months? Today we will make a brilliant rustic wood log planter.
How To Make A Wood Log Planter
You will need to have a little experience with using a circular saw to make this project, so if you haven’t then it is best to practice on other pieces of wood or logs first before going ahead as you may find it takes a few attempts to get it just right. You wouldn’t want to find the perfect log and then ruin it so it is not usable. Always follow safety instructions, such as wearing appropriate clothing, masks or gloves. This craft should be done in plenty of space, but of course you will need access to an electricity supply. This craft is not suitable for children until the planting stage.
What You Need To Make Your Wood Log Planter
Creating your own planters is a super way to decorate your yard, garden, decking or any outside space. You can fill it with anything you like such as herbs, heathers or other small plants. If you make a large wood log planter you can create a stunning summer flower array. Before you start make sure the wooden logs you are using are all dry and free from debris and mud. For this craft you need:
- Hollow log (any size you want)
- 2 small logs (to fit inside the hollow log)
- Circular saw
- Hammer
- Soil
- Trowel
- Succulents or herbs
Getting Started On Your Hollow Log Planter
Step 1: Choose your hollow wooden log.
Step 2: Cut two pieces of wood from another log. These should be small enough to go into each end of your hollow log to block it in.
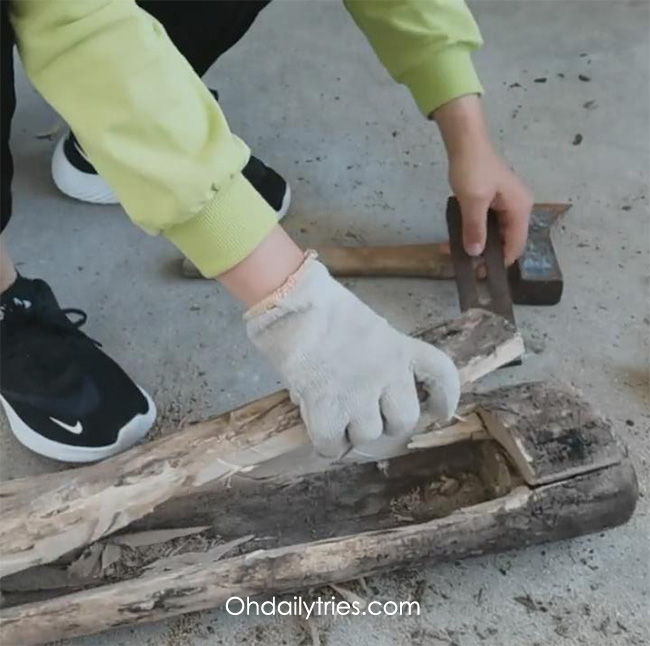
Step3: Insert your smaller log into the hollow at each end. You will need a hammer or axe to help you do this to ensure it is sealed properly.
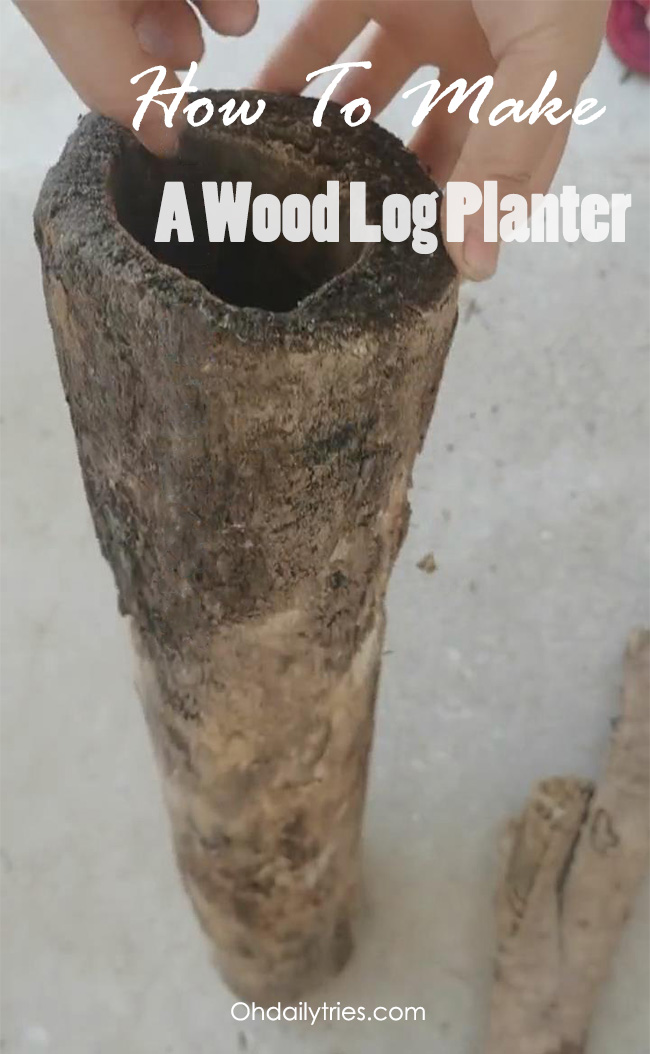
That’s it for the hollow log!
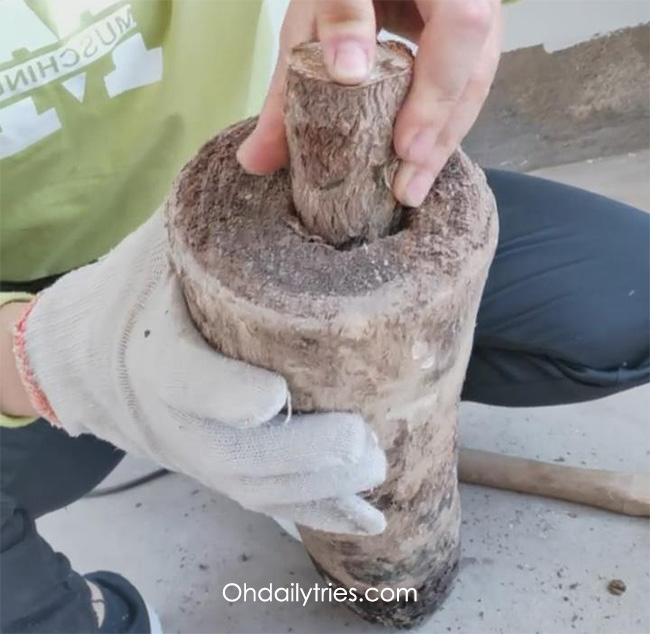
Next We’ll Create The Planting Area
Step 4: Cut an oblong hole along the length of the hollow log, but do not go right to the edges and make sure you don’t saw all the way through it to the bottom!
Step 5: Remove the mood from the hole.
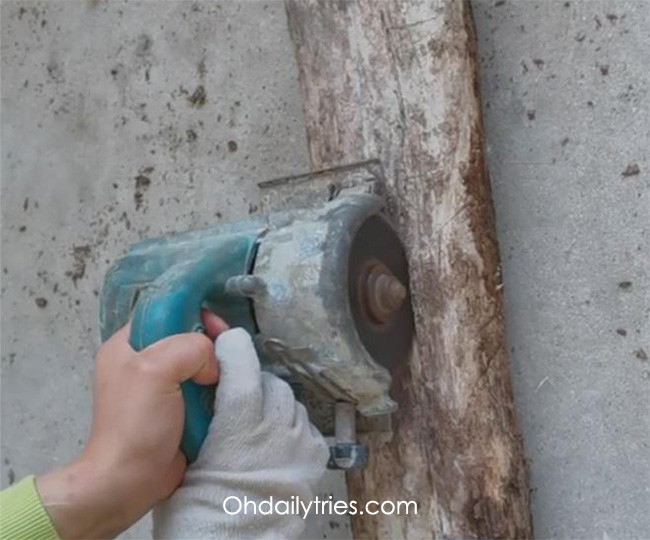
Ready For The Planting
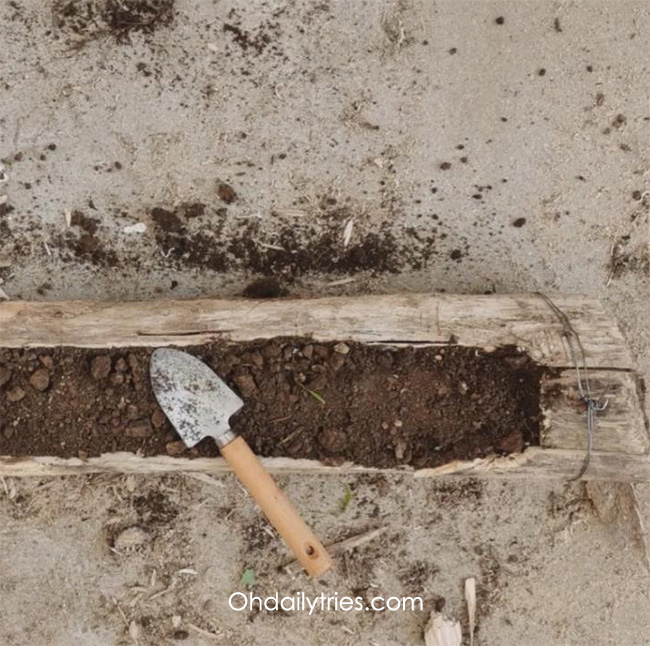
Step 6: Next add your soil or compost into the planter. Fill it right to the top but don’t compact it down at this stage. Your child can start to help at this stage.
Step 7: You are now ready to add your herbs, heathers, plants, cacti, succulents or plants. Make sure the plants are pressed firmly into the soil or compost.
Step 8: Give your newly created log planter plenty of water to allow the plants to root.
Step 9: Remember to water regularly and do not allow to dry out but do not overwater – some plants will require less water than others.
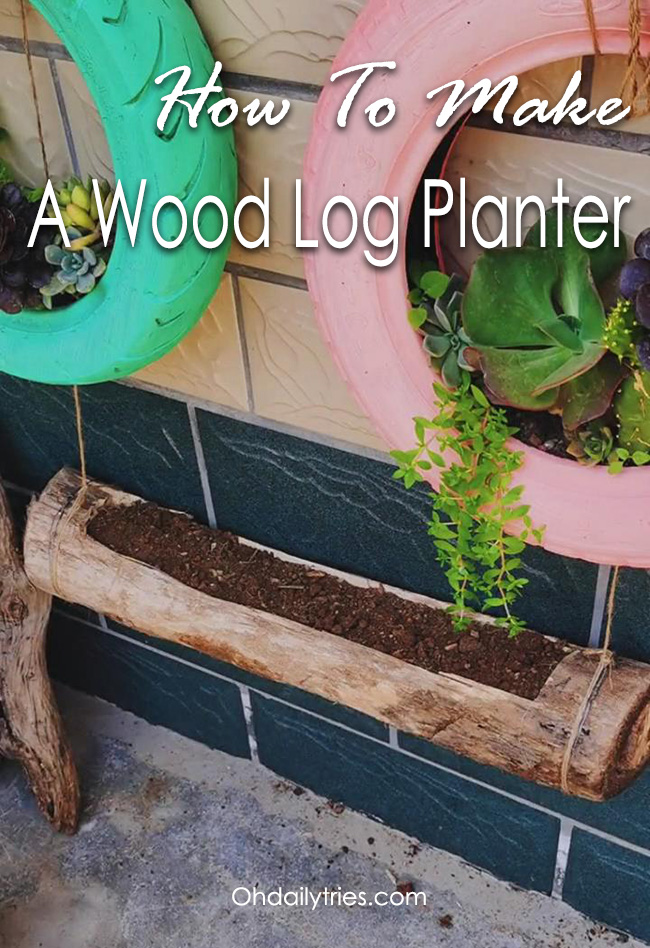
And that’s all there is to it. You can create wooden log planters of any size for your outdoor space. You can create different wood log planters for different kinds of plants.
