We’ve all seen ziplines before at least at some point in our lives. Either in person, in a tv show or movie, or in a video game, we know what a zipline is and how it works.
If you’ve ever seen one and thought, “Wow, I wish I could go on one of those” today is your lucky day. In this tutorial, I’ll be going over exactly what you need to make your very own zip line at home. Let’s get started!
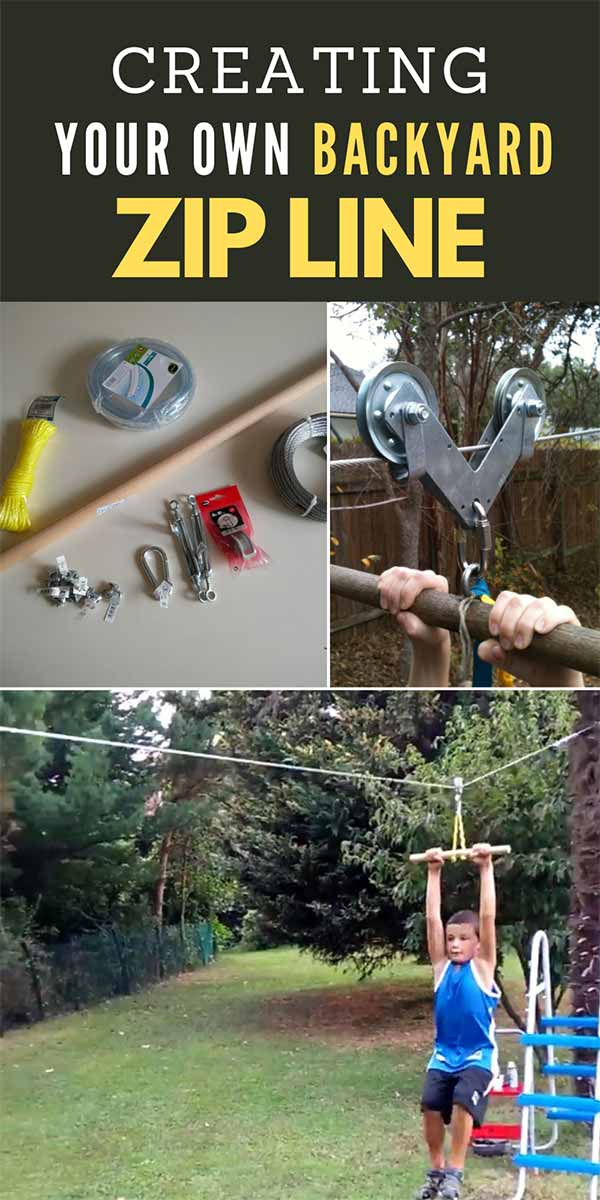
Materials
- Pulley
- 28mm round wooden stick
- 5mm steel cable
- Carabiner
- Nylon Rope
- 6 pcs Cable Clamp (malleable)
- 2 pcs eye-to-eye turnbuckles
- Rubber Tube
Tools
- Saw
- Drill
- Wrench
- Duct Tape
- Lighter
- Paper Tape
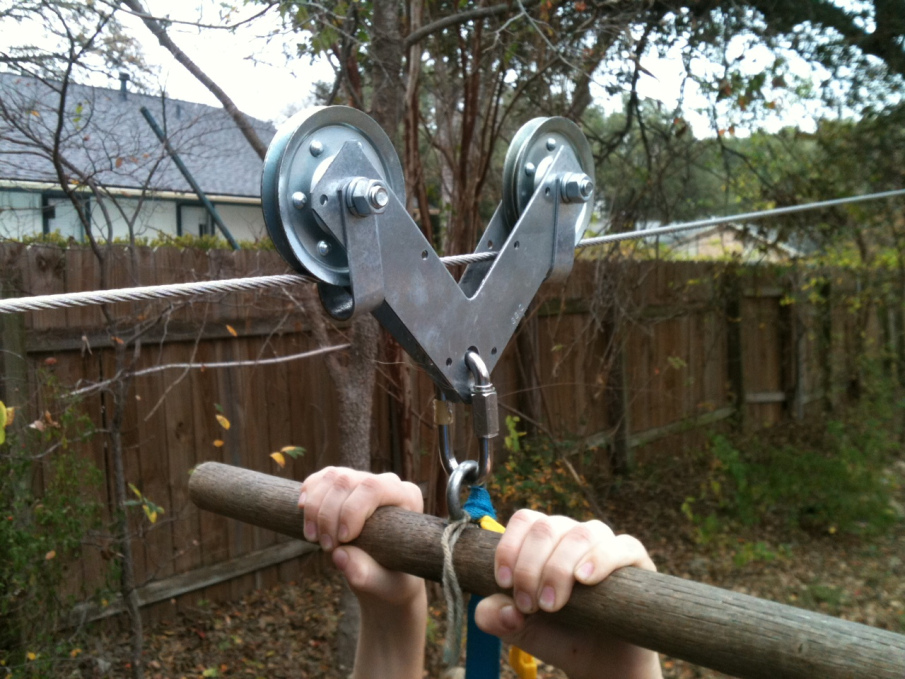
Image via: avrelseale.wordpress.com
Instructions
- First step is to tie the steel cable off on either ends of the zipline location. You’ll want both ends tied securely to their respective areas. Be sure to cover the cable with the rubber tube. This reduces wear on the tree as well as the cable.
- Loop the cable around and affix the turnbuckle to either end’s hook. This acts as a tensioner, holding the line in place.Place the carabiner on one loop of the cable to hold them in place.
- Add about 2-3 clamps to either side to further help with the cord tension and help it stay up.
- Next, connect the pulley to the zipline. This is what you will be using to go up and down so make sure it is securely fashioned to the cable
- Finally is getting yourself strapped and set. You’ll need to use the nylon rope wrapped around the pulley. This will be used to securely fashion you to the cable as you go sliding down. You will also use the rounded wooden stick as a grip to be placed through the pulley so you have a way of sliding back and forth.
And just like that, you have your own zipline!
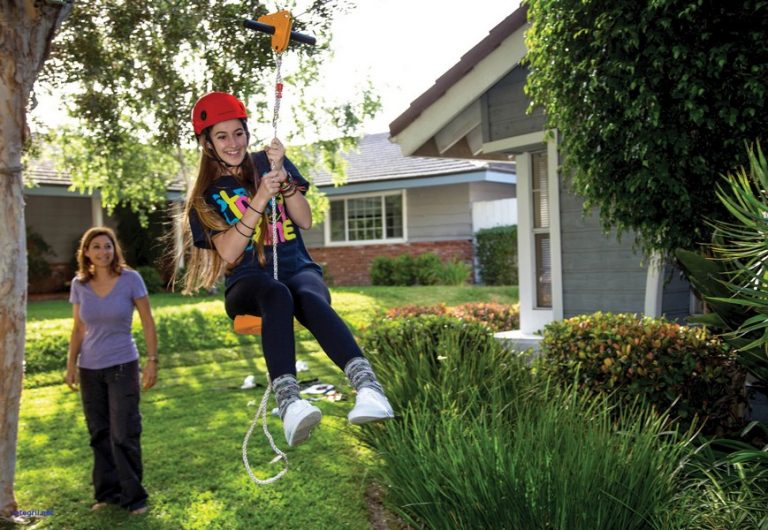

Image via: bring-the-kids.com
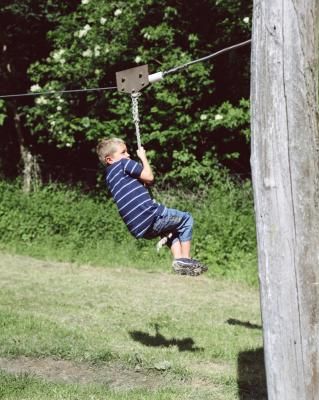
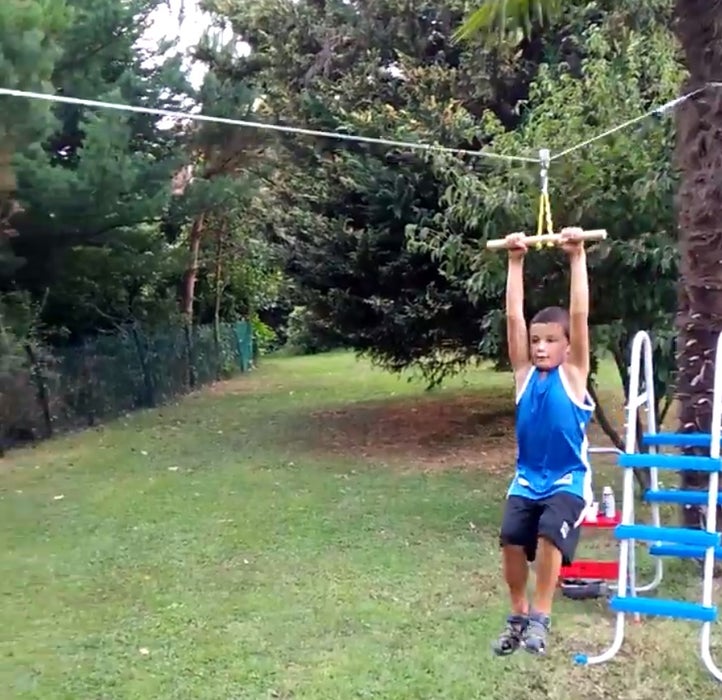
image via: instructables.com
