Being creative and making things ourselves gives a real buzz of achievement and there are so many different projects to consider. If you are looking for an innovative and different small and exciting toy for your child, why not make this super magnetic powder bottle toy. It is easy to make and will give them hours of endless fun making shapes.
How To Make A Magnetic Powder Bottle Toy
The magnetic powder bottle toy is made from simple items that you have around the house, although there may be one or two thing you need to find or purchase from a local store. However, nothing is expensive for this project.
What You Need To Make Magnetic Powder Bottle Toy
This is a simple creative craft that everyone will love. You need:
- Small magnet
- Small bottle with lid
- Coloured food dye
- Iron filings
- Cloth
- Stirrer (or plastic spoon)
Getting Started On Magnetic Powder Bottle Toy
Step 1: Take your magnet and cover it with the cloth.
Step 2: Next circle it in the sand so it collects iron filings. The cloth is to keep the magnet clean.
Step3: Remove the iron filings from the end of the cloth magnet and place in a receptacle. Anything will do but a small plastic cup is ideal.
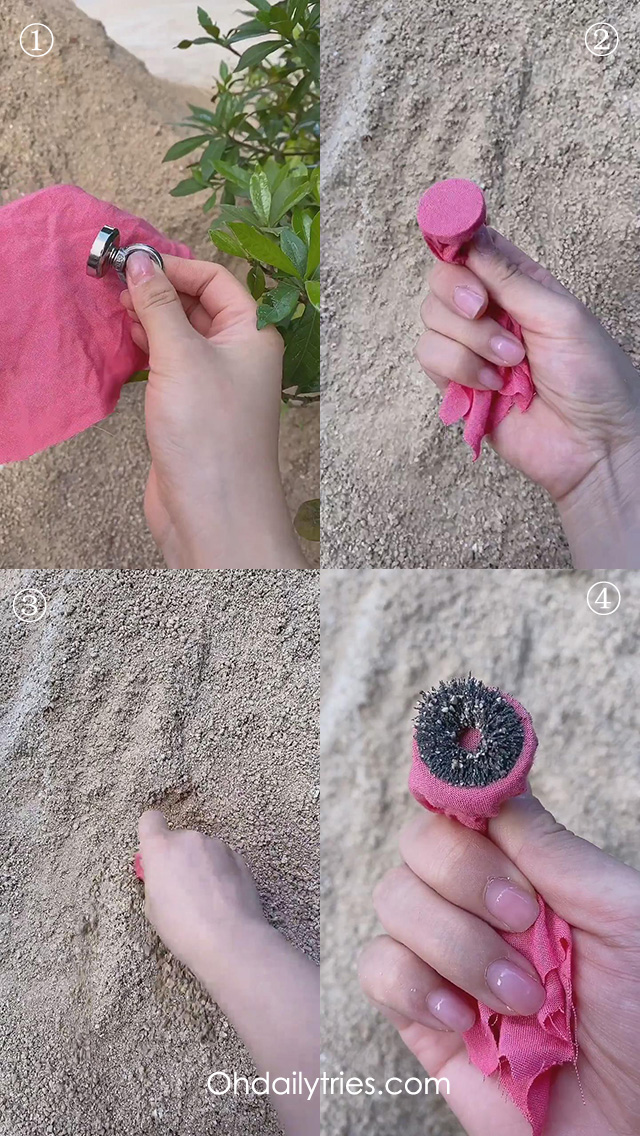
We’re half way there already!
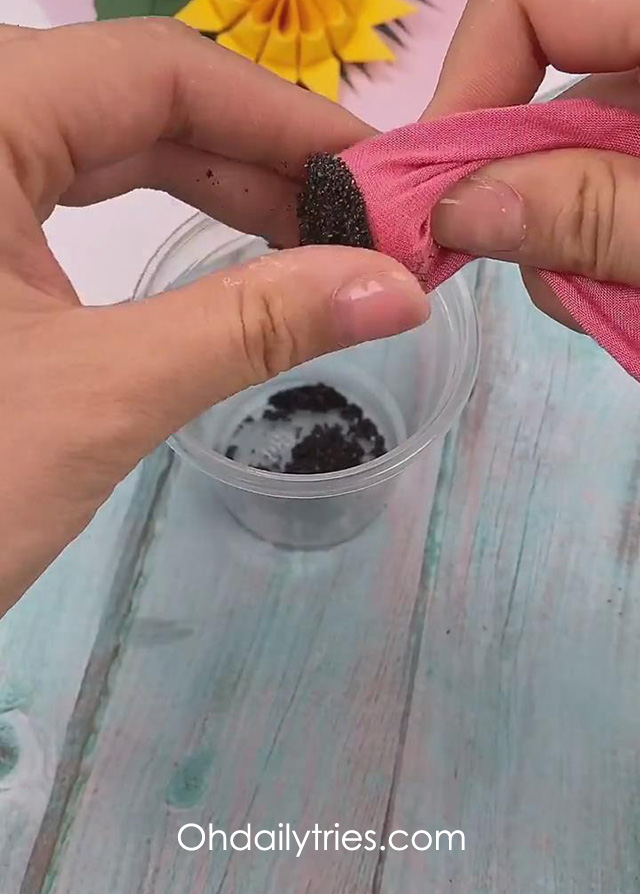
Next We’ll Clean The Filings
Step 4: Pour a little cold water into the receptacle so it covers the iron filings.
Step 5: Take your stirrer or plastic spoon. It needs to be plastic or wood otherwise the iron filings will stick to it magnetically!
Step 6: Stir the iron filings in the water vigorously to remove some of the dirt. If the iron filings have been in a really dirty place you can repeat this step until you are sure the filings are clean. Otherwise they will muddy up your magnetic powder bottle toy.
Step 7: Pour the dirty water away. Make sure you don’t pour the iron filings away with the water!
Step 8: Use the stirrer or small spoon to scoop the iron filings that have been left behind in the bottom of your receptacle. Place them in your clean small bottle. This bit could be a bit fiddly, and if you have used a spoon as a stirrer you may need to locate a smaller spoon.

Step 9: Add clean water to fill your bottle up. Not right to the top though, you need to leave room for your dye.
Step 10: Add a few drops of your chosen colored food dye. In this case we have chosen red, but you can have any color you want. You can even mix colours; for example, red and blue to make purple. Make sure the lid is screwed on tight.
Step 11: Shake the bottle to mix the dye.

Step 12: Take your magnet to the side of the bottle and the iron filings will magically follow it wherever you move it.
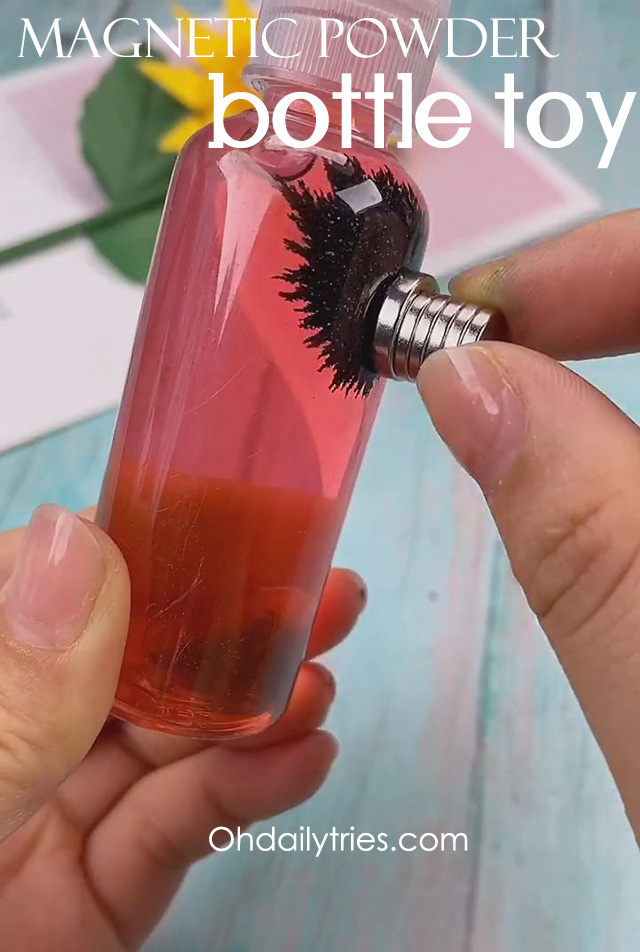
And there you have it! You can make a variety of sizes and colors. You could also add sparkly stars to the mix too. Children will have hours of fun chasing the iron filings around the bottle. They will marvel at the different shapes. Let’s spark their curiosity.

